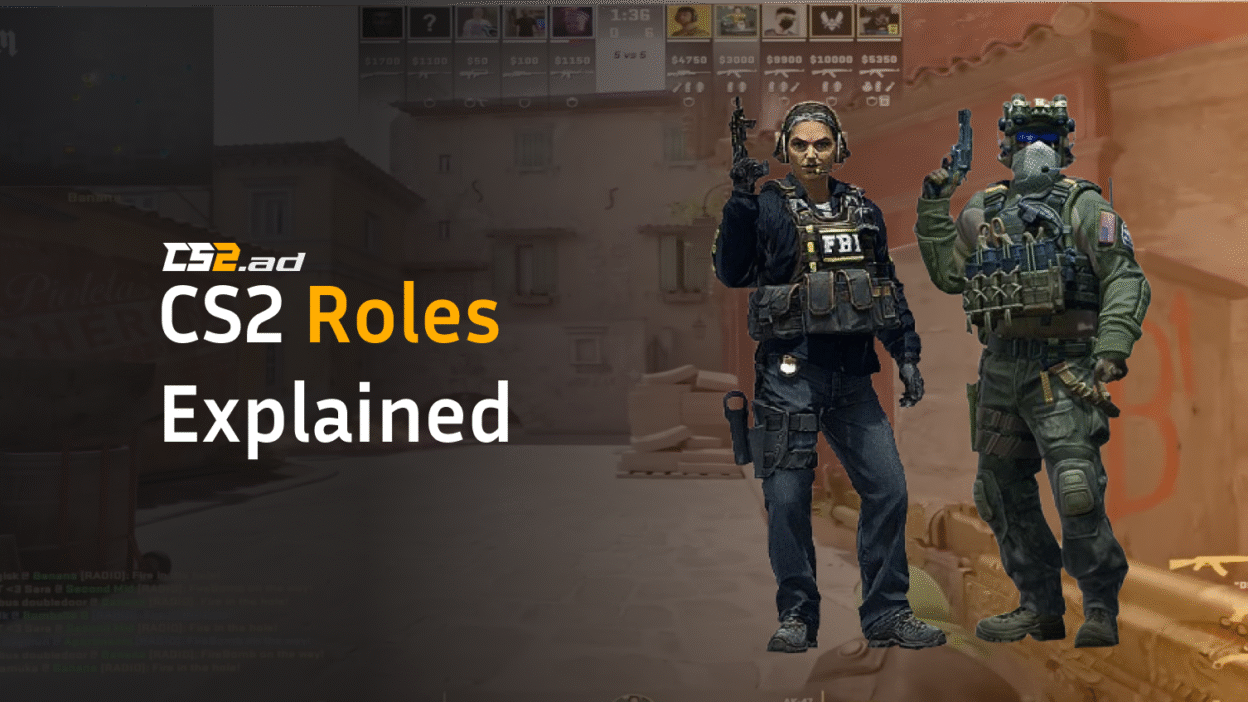
If you’ve ever asked “Who should entry?” or “Do we need a dedicated AWPer?” this guide gives you clear, role-by-role answers with practical setups, map examples, and drills your team can use tonight. You’ll also find quick links to map callouts and pro setups when helpful.
TL;DR Role Snapshot
- IGL (In-Game Leader): Calls the plan; reads the game; sets pace.
- Entry / Space-Creator: Breaks first line of defense; creates openings.
- Trader / Second in: Converts space into trades; secures site control.
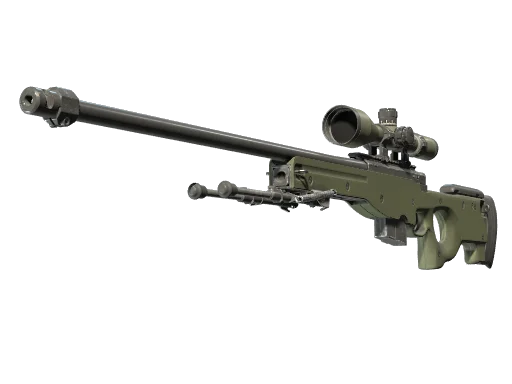
- AWPer / Primary Sniper: Controls angles and tempo with the AWP.
- Lurker: Works off-pack timings; punishes rotations and flanks.
- Support / Utility Specialist: Enables hits with perfect nades, flashes, drops.
- Anchor (CT): Holds a site under pressure; stalls with utility.
- Rotator / Flex (CT): Plays info, plugs gaps, stabilizes mid-round.
- Closer / Clutch: High-composure finisher in late rounds (often overlaps other roles).
Roles vs Positions (and why it matters)
- Role = your responsibility (e.g., Entry, IGL).
- Position = your spot on the map (e.g., Mirage B Apps, Inferno Pit).
On T-side you’ll shift positions more often; on CT-side you’ll specialize: anchors lock sites while rotators play movable roles. Learn callouts first so your role decisions match the map’s reality: - Mirage Callouts
- Overpass Callouts
- Inferno Callouts
- Dust II Callouts
- Anubis Callouts
- Nuke Callouts
- Vertigo Callouts
The 9 Core Roles (What you do, how you do it, and how to practice)
1) In-Game Leader (IGL)
Mission: Build plans pre-round, adapt mid-round, close rounds with % plays.
Core skills: Round scripting, reading rotations, mid-round comms, timeout usage.
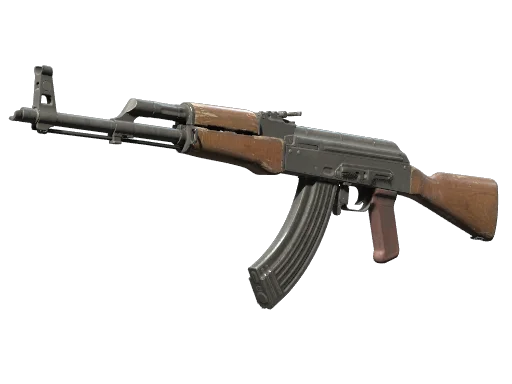
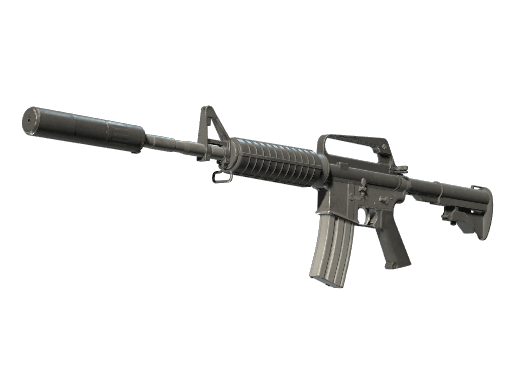
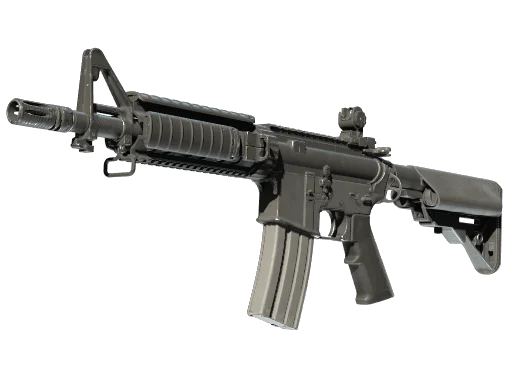
Buy priority: Rifles (AK-47/M4A1-S/M4A4), full util; AWP only if that’s your identity.
Daily habits:
- Prepare 3 opening ideas per half: default → exec, contact split, fast hit.
- Track CT util trends (e.g., Overpass B Short molly timings) and call counters.
Drill: Host a 15-min chalk talk before scrims. Build a round tree: Plan A, bailout path, late-round win condition.
Pro study links: aleksib settings, device, snax.
2) Entry / Space-Creator
Mission: Take first duel or first space; force panic; call “clear/contested.”
Core skills: Crosshair placement, pace changes, anti-flash protocols.
Buy priority: Strong rifle + head armor, flash for self-pop if needed.
Utility rules:
- If your team lacks a support in the pack, bind jump-throw and self-pop your entry flash (jump-throw bind, grenade binds).
- Demand a trade path from your second in.
Drill (2 players): On Mirage A, have Support throw top-Con + Stairs flash; Entry scales out Tetris with a 0.5s swing timing, then calls site status.
Pro study links: yekindar, niko, xantares.
3) Trader / Second in
Mission: Trail Entry by one step, pre-aim trade spot, plant/util on contact.
Core skills: Spacing, multi-kill conversions, bomb discipline.
Utility rules: First smoke on go-signal; one anti-push molly; post-plant nades.
Drill: Mirage A post-plant: set a 2v2 with default bomb; Trader practices swing timing off Entry’s jiggle.
4) AWPer / Primary Sniper
Mission: Control key lines, punish overpeeks, eco farm, tempo flips.
Core skills: Repositioning after pick, nade-baiting, %-based repeeks.
Buy priority: AWP first; CT doubles as site anchor if needed.
Drill: Inferno: spawn AWP picks (Mid, Boiler, Banana) + instant fall-back path rehearsed with Support.
Pro study links: s1mple, m0NESY, ZywOo, device, sh1ro, woxic, kennyS.
5) Lurker
Mission: Pressure extremities, catch rotates, backstab saves, secure late space.
Core skills: Timing intuition, noise discipline, info value calculus.
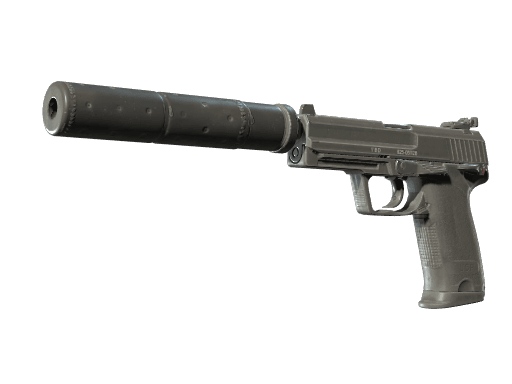
Buy priority: Silent movement (prefer USP-S on pistols CT), big-mag rifle, one late-round smoke.
Drill: Anubis: work B Water walks > Short pinch on 0:55 after pack shows A Utility. Record how often you pull a third defender.
6) Support / Utility Specialist
Mission: Enable the stars: lineups, flashes, drops, trade insurance.
Core skills: Perfecting lineups, counting enemy nades, mid-round util.
Buy priority: Full utility even on marginal buys; drop priorities by plan.
Quick wins:
- Learn a smoke bank for every map (exec, lurk, retake).
- Bind instant clear-decals for visibility when spamming through smokes (guide).
- Set buy binds for fast-paced rounds (buy binds).
Pro study links: stewie2k, fallEN, shroud.
7) Anchor (CT-only)
Mission: Survive, stall, call numbers, and buy time for rotations.
Core skills: Counter-util layering, deny plants, smoke fades, saving discipline.
Typical positions:
- Mirage B: Bench/Van—molly stop + smoke one-way on Van.
- Overpass B: Monster/Sandbags—fend rushes with deep HE + Short molly (callouts).
- Inferno A: Pit/Graveyard—anti-flash angles; smoke Pit late (callouts).
- Nuke: Ramp anchor with fast vent drop protocol (callouts).
Drill: 3× “stall 7 seconds” reps: teammates fake an exec; you must remain alive with 1–2 nades left when help arrives.
8) Rotator / Flex (CT-side)
Mission: Float to pressure, deny map control, convert man-advantage.
Core skills: Mini-map awareness, fast paths, trade setups.
Where to play: Con/Window on Mirage, Arch on Inferno, Heaven/Connector on Nuke.
Drill: Partner with AWPer: if AWP gets pick → you swing to close space; if AWP fails → you smoke and delay.
9) Closer / Clutch
Mission: Decision-making under stress; isolates duels, plays bomb perfectly.
Core skills: Sound discipline, fake taps, off-angles, utility greed read.
Routine: Do 10 demo reviews/week of your own clutches; tag win/loss reasons.
Pro study links: NiKo, ZywOo, device
T-Side Pack Archetypes (use these to build executes)
- AWP default + extremity lurk: AWP holds mid line; pack pressures opposite site; lurker springs late.
- Double extremities: Two players at each edge; IGL floats mid.
- Fast exec: Support-heavy with rehearsed mollies/one-ways; Entry + Trader break first box.
Useful helpers: smoke practice commands, show FPS to keep performance in check, best audio settings for info clarity.
CT-Side Site Pairing Templates (copy these)
- Mirage – A: Anchor (Pit/Tetris cross) + Rotator (Ticket/CT). B: Anchor (Van) + Rotator (Cat/Short). Callouts
- Overpass – B: Anchor (Monster) + Rotator (Short). A: AWPer (Long/Bathrooms) + Rotator (Bank/Truck). Callouts
- Nuke – A: Hut/Rafters pair. B: Ramp anchor + fast-drop rotator. Callouts
Economy & Loadouts by Role
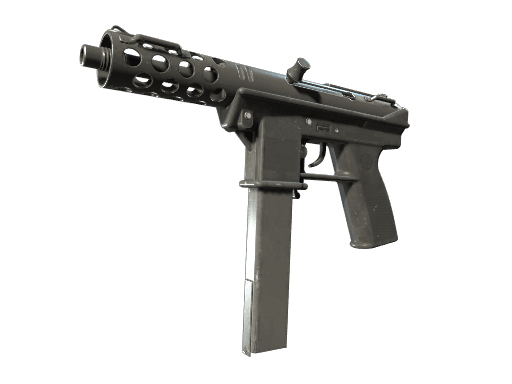
- Entry/Trader: Rifle + armor; one entry flash + post-plant molly; pistols: Tec-9/P250.
- AWPer: Prioritize glass-cannon AWP on confident spawns; sidearm: P250 or CZ.
- Lurker: Silent rifles; a smoke for late lurk; purchase HE for plant denial.
- Anchor: Always buy kit + 2–3 nades; prioritize survivability over upgrades.
- Support: Full util first; downgrade weapon if it funds key lineups.
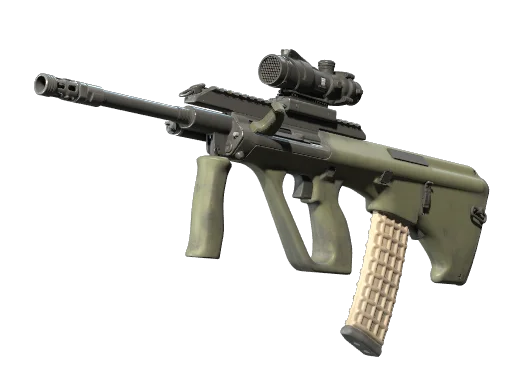
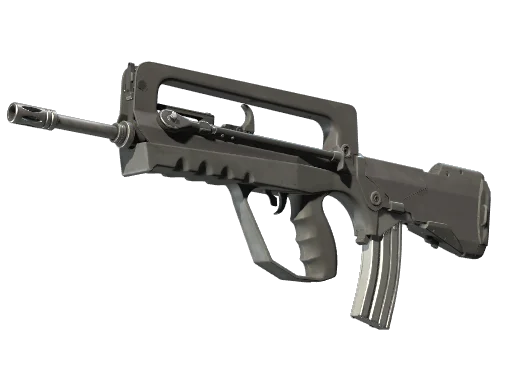
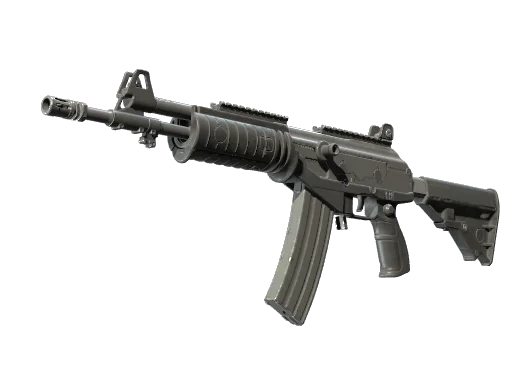
For deeper weapon stats, see: CS2 weapon stats and individual guns (e.g., AK-47, M4A1-S, M4A4, AWP).
Communications Cheat-Sheet (steal this)
Everyone: Speak numbers (“three B short”), utility (“no smokes left”), and plan (“save/top-mid contact into A in 10”).
- IGL: “Freeze → re-hit B at 0:35 with 2 smokes.”
- Entry: “Site box clear, default not clear, scaling CT!”
- Trader: “One-for-one; bomb safe default.”
- Lurker: “AWP rotated off; window open.”
- Anchor: “I stalled; two out ramp, no bomb.”
- Rotator: “Smoking choke; retake in five.”
Practice Plan (90 minutes)
- Warmup (15m): Crosshair, bursts; adjust crosshair.
- Utility block (20m): 3 smokes + 2 mollies per map, per Support.
- Exec reps (25m): Run A/B hits; Entry/Trader spacing timings.
- CT holds (20m): Anchor “stall 7s” drill; Rotator fast-path rehearsals.
- Review (10m): Watch 2 pivotal rounds via replay commands or fast-forward; tag fixes.
Role Matrix Template (copy for your team)
| Slot | Primary | Secondary | Maps where it shines | Notes |
| 1 | IGL | Rotator | Nuke/Overpass | Calm mid-rounder |
| 2 | Entry | Trader | Mirage/Anubis | Demands flash support |
| 3 | Trader | Closer | Inferno/Dust2 | Great post-plants |
| 4 | AWPer | Anchor A | Nuke/Overpass | Spawn-based picks |
| 5 | Lurker | Support | Mirage/Vertigo | Late smoke specialist |
Tip: align your rank goals and map pool (CS2 ranks, CS2 maps).
Troubleshooting: When roles feel “off”
- No space T-side? Empower Entry with two set flashes; Trader commits through.
- Dying alone? Assign a shadow to your star for a half.
- AWP impact low? Give spawn-based openings or anchor a site for guaranteed value.
- CT cracks on hits? Teach Anchor molly on sound-cue, not on contact.
- Team comms messy? Add “Who’s got bomb?” check each freeze time.
Related fixes: peekers’ advantage, tick rate/sub-tick, raw input.
Pro Player Role Examples (to study)
- Awpers: s1mple, m0NESY, ZywOo, device, sh1ro, woxic.
- Entries/Stars: NiKo, yekindar, rain, ropz, b1t.
- Leaders/Hybrids: aleksib, snax, fallen, stewie2k, shroud.
FAQs
Do we need a dedicated AWPer?
Not mandatory below high-tier play, but one confident AWPer massively improves map control on Overpass, Nuke, and Mirage.
Can one player be Entry and Lurker?
Not in the same round. Build two openers in your roster so you can swap plans without breaking roles.
How do we pick roles?
Run a week of trials. Track KAST, opening duels, flash-assists, survival at anchor, clutch conversion. Put players where their impact per attempt is highest.
We lose to fast hits help!
Drill stall protocols: instant smoke + counter-molly + crossfire call. Rotate on numbers, not on panic.

