Running your own CS2 dedicated server is the best way to get full control over gameplay, performance, mods, and practice sessions. Whether you want a private server for friends, a practice server, or a community hub, this guide walks you through everything — without unnecessary complexity.
If you’ve ever been frustrated by matchmaking limitations or just want total control, hosting your own Counter-Strike 2 dedicated server is the way to go.
What Is a CS2 Dedicated Server?
A CS2 dedicated server is a standalone server that runs Counter-Strike 2 independently from your game client. Unlike local or listen servers, it:
- Runs 24/7 (if hosted properly)
- Offers better performance and stability
- Allows full control over maps, modes, and commands
- Supports plugins, configs, and custom practice setups
This is why dedicated servers are commonly used for:
- Practice servers
- Scrims
- Aim training
- Surf / community servers
- Private matches with friends
If you’re unfamiliar with how CS2 servers differ from matchmaking, this CS2 private matchmaking guide gives good background context.
CS2 Dedicated Server vs Matchmaking
| Feature | Dedicated Server | Matchmaking |
| Full control | Yes | No |
| Custom maps | Yes | No |
| Practice commands | Yes | Limited |
| Mods & configs | Yes | No |
| Stability | High | Varies |
| VAC protected | Optional | Yes |
If your goal is practice, learning, or community hosting, dedicated servers win every time.
System Requirements for CS2 Dedicated Server
You don’t need a monster PC, but specs matter for stability.
Minimum (Small Private Server)
- CPU: 4 cores
- RAM: 8 GB
- Storage: 30+ GB SSD
- OS: Windows or Linux
- Network: Stable broadband
Recommended (Community / Modded Server)
- CPU: 6–8 cores
- RAM: 16 GB+
- SSD storage
- Low-latency internet
If you’re unsure your machine can handle it, reviewing CS2 system requirements helps set expectations.
How to Set Up a CS2 Dedicated Server (Step-by-Step)
Step 1: Install SteamCMD
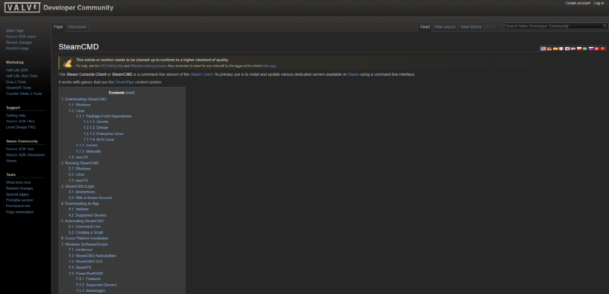
SteamCMD is Valve’s command-line tool used to download server files.
- Download SteamCMD
- Create a dedicated folder for CS2 server files
- Log in anonymously
Step 2: Download CS2 Server Files
Use SteamCMD to download the CS2 dedicated server package into your chosen directory.
Once downloaded, you’ll have access to:
- Server executable
- Config files
- Map folders
Step 3: Configure Your Server
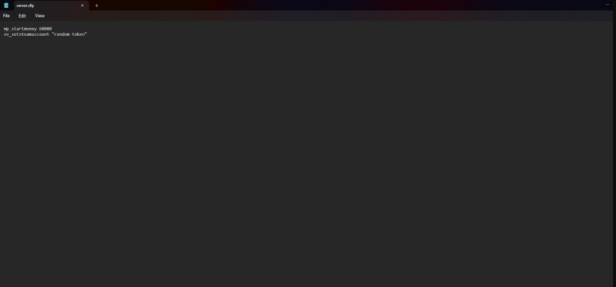
Key configs you’ll want to edit:
- server.cfg → server name, password, rules
- autoexec.cfg → performance & practice commands
- gamemode and map settings
If you plan on heavy practice sessions, this CS2 practice commands guide pairs perfectly with dedicated servers.
Step 4: Port Forwarding
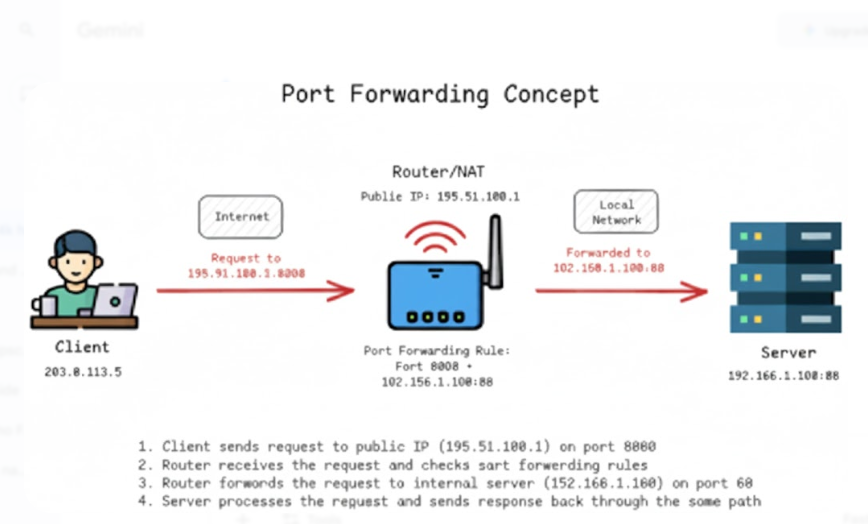
To allow others to join your server, you must forward ports on your router.
Common ports:
- UDP 27015 (default CS2 server port)
If you’ve never done this before, this CS2 port forwarding guide explains it clearly.
Step 5: Launch the Server
Once configured, start the server using launch parameters (map, mode, max players, etc.).
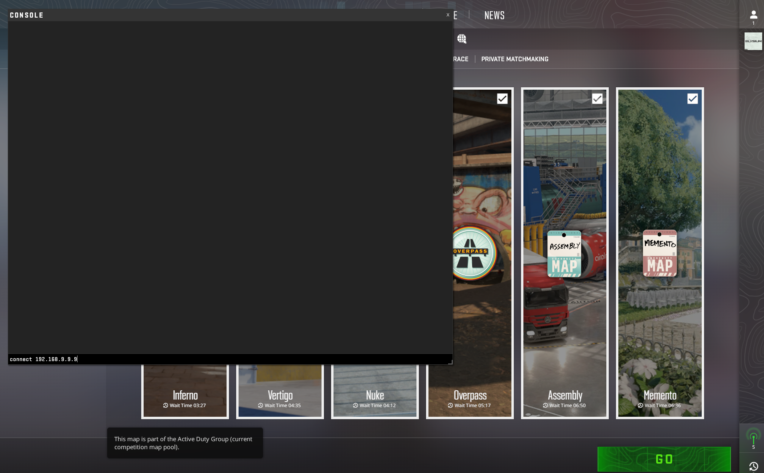
After launch:
- Server appears in the browser
- Friends can connect via IP
- You have full admin control
If your server doesn’t show up, this guide helps diagnose the issue:
CS2 Community Servers Not Showing?
Best Uses for a CS2 Dedicated Server
1. Practice & Training
Dedicated servers shine for:
- Smoke lineups
- Aim practice
- Grenade testing
2. Learning Maps & Callouts
Hosting your own server lets you freely explore maps and learn positions.
Useful callout guides:
3. Community Servers (Surf, Retake, 1v1)
Dedicated servers are perfect for:
- Surf maps
- Retake servers
- 1v1 arenas
You can combine this with CS2 surf maps for a full community setup.
Performance & Tick Rate Tips
While CS2 handles tick behavior differently than CS:GO, server performance still matters.
Helpful resources:
Common CS2 Dedicated Server Issues (And Fixes)
Server Not Showing
- Check port forwarding
- Verify firewall rules
- Confirm correct launch parameters
High Ping or Lag
- Reduce plugins
- Check server location
- Optimize network settings
Players Can’t Connect
- Double-check IP and port
- Ensure SteamCMD files are updated
If things still break, this CS2 server browser fix guide may help.
Is Hosting a CS2 Dedicated Server Worth It?
Yes — if you want:
- Better practice
- Full control
- Stable private games
- Community features
No — if you only play casual matchmaking and don’t need customization.
For serious players, teams, and creators, dedicated servers are 100% worth the effort.
Skins, Practice & Fun Extras
Many players use dedicated servers to:
- Inspect skins
- Practice knife movement
- Explore loadouts
If you’re into skins and inventory building, you may enjoy:
Frequently Asked Questions (FAQs)
Is a CS2 dedicated server free?
Yes. The server software is free, but hosting costs depend on your hardware or provider.
Can I host a CS2 server on my own PC?
Yes, for private or small servers. For public servers, a VPS or dedicated machine is better.
Does a CS2 dedicated server support mods?
Yes, depending on server configuration and updates.
Is VAC enabled on dedicated servers?
It can be enabled, but many practice servers run without VAC.
Final Thoughts
A CS2 dedicated server gives you freedom that matchmaking never will. Whether you’re grinding aim, running scrims, or hosting a community, it’s one of the best tools serious CS2 players can use.