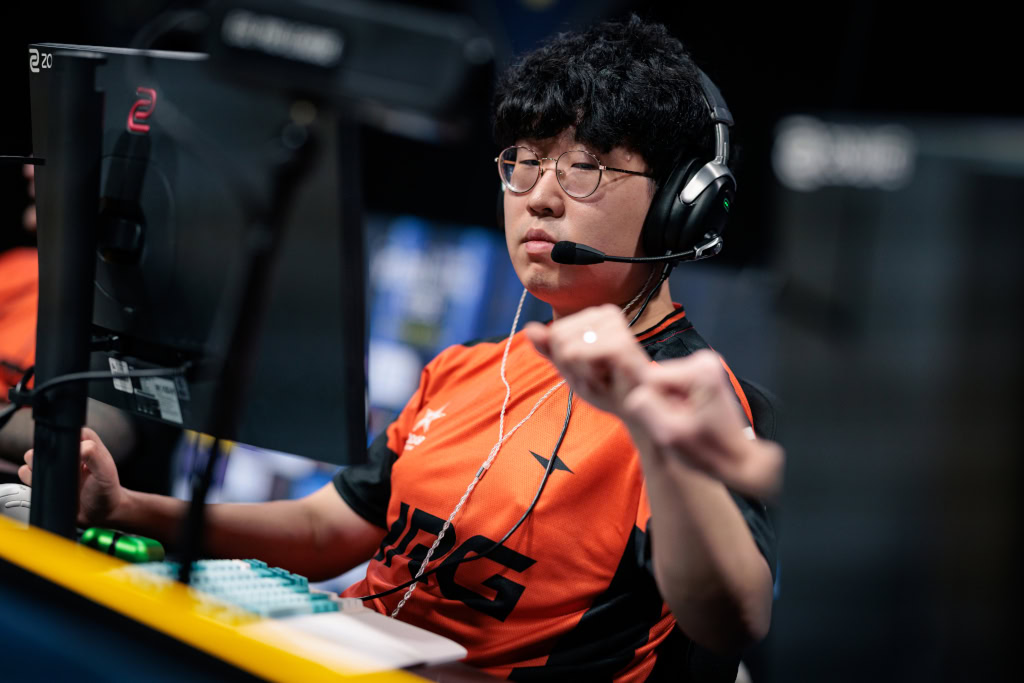
Want to hit shots like one of North America’s most talented AWPers? The oSee CS2 settings and configuration have helped him become a cornerstone of professional Counter-Strike in the region. In this guide, we break down his complete setup so you can test his config for yourself.
Josh “oSee” Ohm has built a reputation for crisp flick shots and consistent AWP performances. His settings prioritize clean visuals and precise mouse control essentials for any dedicated sniper.
oSee Mouse Settings
Mouse settings are critical for AWPers who need pixel-perfect precision. oSee runs a relatively low sensitivity, giving him maximum control over flick shots and micro-adjustments when holding angles.
| Setting | Value |
|---|---|
| DPI | 800 |
| In-Game Sensitivity | 1.0 |
| eDPI | 800 |
| Zoom Sensitivity | 1.0 |
| Polling Rate | 1000 Hz |
| Windows Sensitivity | 6 |
| Raw Input | On |
An eDPI of 800 sits in the low-to-medium range for professional players. This allows oSee to make large swipes for 180-degree turns while maintaining the fine control needed for long-range duels with the AWP.
His zoom sensitivity of 1.0 keeps scoped aim feeling identical to unscoped movement a preference many AWPers share for consistency.
oSee Crosshair Settings
oSee uses a compact, static crosshair that stays visible against most backgrounds without cluttering his screen.
cl_crosshairsize 2cl_crosshairgap -3
cl_crosshairthickness 0
cl_crosshairdot 0
cl_crosshaircolor 1
cl_crosshair_drawoutline 0
cl_crosshairstyle 4
Key characteristics:
- Small size for precise aiming
- Negative gap creates a tight center point
- Green color (color 1) for visibility
- No outline keeps it clean
This minimalist approach ensures the crosshair never obscures enemies at long distances crucial when you’re peeking with the AWP.
oSee Video Settings
Professional players prioritize frame rate over visuals, and oSee is no exception. His video settings maximize performance while maintaining enough visual clarity to spot enemies.
| Setting | Value |
|---|---|
| Resolution | 1280×960 |
| Aspect Ratio | 4:3 |
| Scaling Mode | Stretched |
| Display Mode | Fullscreen |
Graphics Settings
| Setting | Value |
|---|---|
| Global Shadow Quality | Medium |
| Model/Texture Detail | Low |
| Shader Detail | Low |
| Particle Detail | Low |
| Ambient Occlusion | Disabled |
| High Dynamic Range | Performance |
| FidelityFX Super Resolution | Disabled |
| Boost Player Contrast | Enabled |
The 4:3 stretched resolution makes player models appear wider, potentially easier to hit. Many AWPers prefer this because targets look larger when peeking angles.
Boost Player Contrast is enabled this setting helps enemies stand out against backgrounds, especially useful on maps with complex textures.
oSee Viewmodel Settings
Viewmodel position affects how much screen space your weapon takes up. oSee uses a configuration that keeps the gun out of his sightlines.
viewmodel_fov 68viewmodel_offset_x 2.5
viewmodel_offset_y 0
viewmodel_offset_z -1.5
viewmodel_presetpos 3
This places the weapon model to the right side and slightly lowered, maximizing visible screen area. If you prefer the gun on the opposite side, check out our guide on the left hand command in CS2.
oSee Keybinds
While most of oSee’s keybinds follow standard layouts, a few utility binds help with competitive play:
| Action | Key |
|---|---|
| Jump | Space / Mouse Wheel Down |
| Crouch | Left Ctrl |
| Walk | Left Shift |
| Quick Switch | Q |
Jump throw binds and grenade binds are essential for any competitive player. Our CS2 binds guide covers how to set these up properly.
oSee’s Gear
Hardware matters at the professional level. Here’s what oSee uses:
| Equipment | Model |
|---|---|
| Mouse | Logitech G Pro X Superlight |
| Mousepad | Logitech G640 |
| Keyboard | Logitech G Pro X |
| Monitor | 240Hz+ Gaming Monitor |
| Headset | Logitech G Pro X |
The G Pro X Superlight is one of the most popular mice among CS2 professionals due to its lightweight design and reliable sensor.
Tips for Using oSee’s Settings
Before copying these settings directly, consider a few things:
- Sensitivity is personal — oSee’s 800 eDPI works for him, but you might need adjustment time
- 4:3 stretched takes practice — the different aspect ratio affects how you perceive movement
- Start with his crosshair — it’s the easiest setting to test immediately
If you’re practicing your AWP skills, use CS2 practice commands to set up custom scenarios with unlimited money and ammo.
Why oSee’s Config Works for AWPing
oSee’s settings reflect what most professional AWPers prioritize:
- Low sensitivity for controlled flicks
- Stretched resolution for larger targets
- Clean crosshair that doesn’t obstruct vision
- High FPS for smooth gameplay
His setup is optimized for holding angles and taking aggressive peeks—the bread and butter of professional AWP play. Combined with the right CS2 launch options, you’ll have a solid foundation for improving your game.
Conclusion
The oSee CS2 configuration offers a proven template for aspiring AWPers. His low sensitivity, stretched resolution, and minimal crosshair create an environment built for precision sniping. Test these settings in your next practice session and adjust based on what feels natural.
Looking for the perfect AWP skin to match your new setup? Browse AWP skins on cs2.ad to find your next favorite.