Abay “Hobbit” Khasenov has been a consistent force in professional Counter-Strike for nearly a decade. If you want to learn from Hobbit CS2 settings and replicate his setup, you’re in the right place.
This guide breaks down his complete configuration from mouse sensitivity to crosshair code so you can test his settings in your own matches.
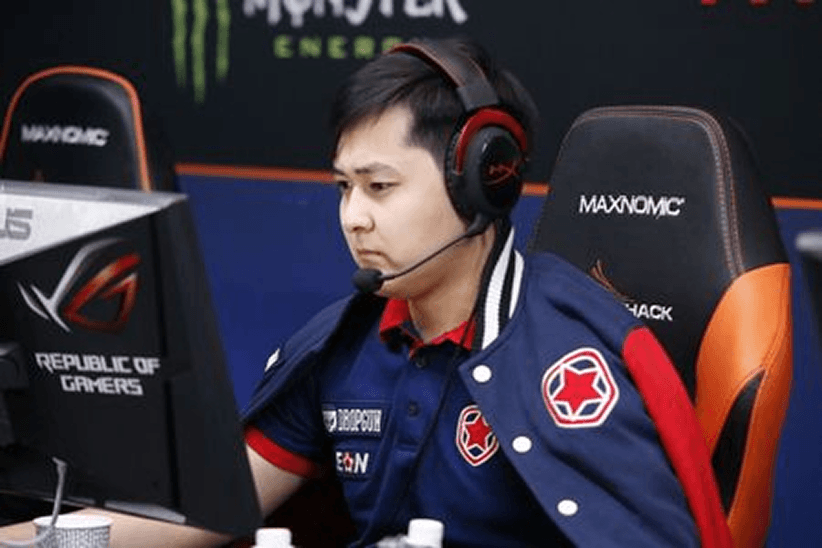
Who Is Hobbit?
Hobbit is a Kazakhstani professional player known for his rifle skills and clutch potential. He gained international recognition during his time with Gambit Gaming, where he helped the team win the PGL Krakow Major in 2017.

His playstyle emphasizes:
- Consistent aim over flashy plays
- Smart positioning and game sense
- Reliable performance under pressure
Understanding his approach helps contextualize why his settings prioritize control and precision over speed.
Hobbit’s Mouse Settings
Mouse settings form the foundation of any pro’s aim. Hobbit uses relatively standard sensitivity values that balance precision with the ability to make quick adjustments.
| Setting | Value |
|---|---|
| DPI | 400 |
| In-Game Sensitivity | 2.0 |
| eDPI | 800 |
| Zoom Sensitivity | 1.0 |
| Mouse Hz (Polling Rate) | 1000 Hz |
| Windows Sensitivity | 6 |
| Raw Input | On |
| Mouse Acceleration | Off |
His eDPI of 800 sits in the medium-low range for professional players. This allows for precise micro-adjustments when holding angles while still enabling comfortable 180-degree turns.
If you’re testing these settings, make sure to disable mouse acceleration and enable raw input in your CS2 options. These ensure your mouse movements translate directly into the game without any OS interference.
Hobbit’s Video Settings
Pro players typically sacrifice visual quality for maximum performance and visibility. Hobbit follows this approach with settings optimized for high frame rates and clear enemy visibility.
| Setting | Value |
|---|---|
| Resolution | 1280×960 |
| Aspect Ratio | 4:3 |
| Scaling Mode | Stretched |
| Display Mode | Fullscreen |
Graphics Quality Settings
| Setting | Value |
|---|---|
| Global Shadow Quality | Medium |
| Model/Texture Detail | Low |
| Texture Filtering Mode | Bilinear |
| Shader Detail | Low |
| Particle Detail | Low |
| Ambient Occlusion | Disabled |
| High Dynamic Range | Performance |
| FidelityFX Super Resolution | Disabled |
The 4:3 stretched resolution makes player models appear wider on screen, which some players find easier to track and hit. However, this comes at the cost of peripheral vision—you’ll see less of the map on the sides of your screen.
Many riflers who focus on holding angles prefer this trade-off. If you’re an entry fragger who needs maximum awareness, you might want to stick with 16:9.
Hobbit’s Crosshair Settings
A clean, visible crosshair is essential for consistent aim. Hobbit uses a small static crosshair that doesn’t expand during movement or shooting.
| Setting | Value |
|---|---|
| Style | 4 (Classic Static) |
| Color | Green (1) |
| Size | 2 |
| Thickness | 0 |
| Gap | -3 |
| Outline | Yes |
| Outline Thickness | 1 |
| Dot | No |
| Sniper Width | 1 |
Crosshair Code
Copy and paste this code into your console to instantly apply Hobbit’s crosshair:
CSGO-pduYY-YzMWO-rYynn-G5dLY-zeuVFAlternatively, use these console commands:
cl_crosshair_drawoutline 1cl_crosshair_outlinethickness 1
cl_crosshair_sniper_width 1
cl_crosshairalpha 255
cl_crosshaircolor 1
cl_crosshairdot 0
cl_crosshairgap -3
cl_crosshairsize 2
cl_crosshairstyle 4
cl_crosshairthickness 0
The negative gap creates a tight crosshair that helps with precise headshot placement. The outline ensures visibility against both light and dark backgrounds on any map.
Hobbit’s Viewmodel Settings
Viewmodel settings affect how your weapon appears on screen. While purely cosmetic, many players have strong preferences based on what feels natural.
| Setting | Value |
|---|---|
| Viewmodel FOV | 68 |
| Viewmodel Offset X | 2.5 |
| Viewmodel Offset Y | 0 |
| Viewmodel Offset Z | -1.5 |
| Viewmodel Presetpos | 3 |
| Bob | Disabled |
Apply these with:
viewmodel_fov 68viewmodel_offset_x 2.5
viewmodel_offset_y 0
viewmodel_offset_z -1.5
viewmodel_presetpos 3
cl_bob_lower_amt 0
cl_bobamt_lat 0
cl_bobamt_vert 0
Disabling weapon bob reduces visual noise during movement, helping maintain focus on your crosshair placement.
Hobbit’s Keybinds
Efficient keybinds let you access utility and weapons without fumbling. Here are some of Hobbit’s notable bindings:
| Action | Key |
|---|---|
| Jump | Space / Mouse Wheel Down |
| Crouch | Ctrl |
| Walk | Shift |
| Primary Weapon | 1 |
| Secondary Weapon | 2 |
| Knife | 3 |
| Cycle Grenades | 4 |
| HE Grenade | C |
| Flashbang | F |
| Smoke | X |
| Molotov | V |
Having individual grenade binds is crucial for fast utility usage. In high-pressure situations, cycling through grenades wastes precious milliseconds. Check out our guide on cs2 binds to set up your own optimized keybinds.
Hobbit’s Gear
Hardware matters at the professional level. Here’s what Hobbit uses:
| Equipment | Model |
|---|---|
| Mouse | Logitech G Pro X Superlight |
| Mousepad | ZOWIE G-SR |
| Keyboard | HyperX Alloy FPS Pro |
| Monitor | BenQ ZOWIE XL2546K (240Hz) |
| Headset | HyperX Cloud II |
The G Pro X Superlight is one of the most popular mice among CS2 professionals due to its lightweight design (63g) and flawless sensor. The ZOWIE G-SR mousepad provides consistent glide with good stopping power ideal for the controlled aim style Hobbit employs.
How to Apply Hobbit’s Config
Follow these steps to implement his settings:
- Locate your config folder using our cs2 config location guide
- Open your
autoexec.cfgfile (create one if it doesn’t exist) - Paste the crosshair and viewmodel commands
- Adjust your mouse DPI to 400 through your mouse software
- Set in-game sensitivity to 2.0
- Change video settings through the CS2 options menu
- Add
+exec autoexecto your cs2 launch options
Remember that copying pro settings won’t instantly make you better. These configurations are starting points for experimentation. Hobbit has refined these settings over thousands of hours you should adjust them to match your own preferences and playstyle.
Should You Copy Pro Settings?
Pro settings provide a tested baseline, but they’re not magic solutions. Consider these factors:
- Mouse sensitivity is highly personal—start with pro settings, then adjust based on comfort
- Resolution depends on your hardware and visual preferences
- Crosshair should be visible on all maps you play
The real value in studying Hobbit’s setup is understanding why certain choices work. His low eDPI supports the precise aim needed for rifle duels. His stretched resolution helps track targets. His static crosshair maintains consistency.
If you want to practice with his settings, use cs2 practice commands to set up aim training scenarios. You can also explore settings from other professionals like NiKo or Shroud to compare different approaches.
Conclusion
Hobbit’s CS2 settings reflect years of professional experience, prioritizing consistency and control over flashy alternatives. His medium-low sensitivity, 4:3 stretched resolution, and tight crosshair create a setup built for reliable rifle play.
Copy his config as a starting point, then refine it through practice. And if you’re looking to upgrade your loadout while improving your aim, browse CS2 skins to find gear that matches your style.