CS2 Voice Enable Command: The Ultimate Control Guide for 2026
Effective communication is the backbone of any successful Counter-Strike 2 team. A well-timed callout can secure a round victory, while a malfunctioning microphone or unwanted background noise can lead to frustrating defeats. Many players struggle with toggling voice chat on the fly or troubleshooting sudden audio muting. The solution lies in mastering the CS2 console, specifically the voice_enable command and its related settings. This guide provides a comprehensive, expert-backed breakdown of every voice command you need, from basic toggles to advanced binds for maximum competitive advantage. For a deeper dive into overall audio configuration, consider our Best CS2 Audio Settings Guide in 2025.
What is the CS2 Voice Enable Command?
The voice_enable console command is a binary toggle that controls the output of all incoming voice chat from other players in your CS2 matches. It is a global setting that does not affect your ability to transmit your own microphone audio.
- voice_enable 1: This command enables voice chat. You will hear all teammates and opponents (unless otherwise muted) through your audio output.
- voice_enable 0: This command disables voice chat. You will hear no incoming voice communications from anyone in the game.
This command is invaluable for players who need to quickly silence all distractions, whether to focus during a clutch scenario or to block out a toxic player until you can mute them individually. It’s a foundational tool for managing your in-game experience. Understanding these core mechanics is as crucial as knowing your CS2 Settings, Crosshair & Configs for peak performance.
How to Use the Voice Enable Command
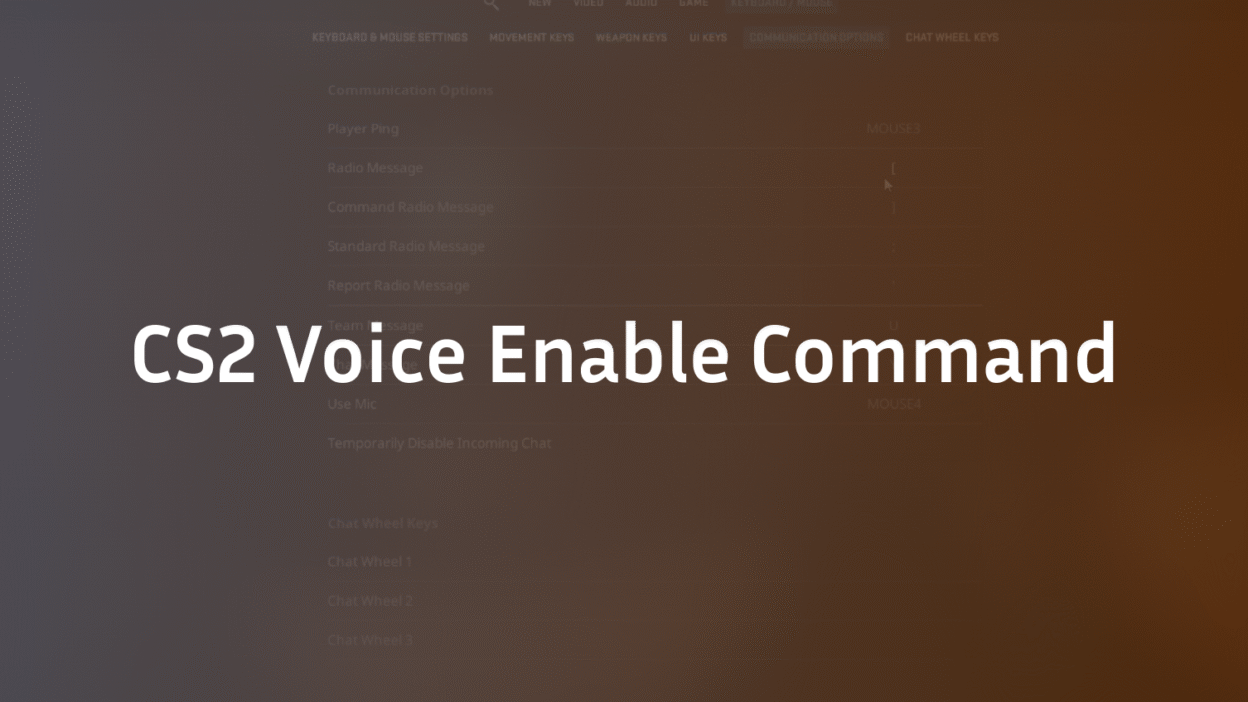
Using the voice_enable command requires access to the CS2 developer console. If you haven’t enabled it yet, navigate to Settings > Game > and set “Enable Developer Console” to Yes. The default key to open the console is ~ (the tilde key).
- Open the console with the ~ key.
- To disable voice chat, type voice_enable 0 and press Enter. You will immediately stop hearing all players.
- To re-enable voice chat, type voice_enable 1 and press Enter.
While effective, typing these commands manually mid-game is impractical. The true power of this command is unlocked by creating a custom bind or toggle, which we will cover in the next section. For those who also use text chat for calls, mastering CS:GO Chat Binds can further enhance your communication efficiency.
Creating a Voice Enable Toggle Bind
Manually typing console commands is inefficient. The professional solution is to bind a toggle function to a single key, allowing you to enable and disable voice chat instantly without ever opening the console.
Here is the complete toggle bind command:
bind “KEY” “toggle voice_enable 0 1”
How to Implement It:
- Open your console.
- Replace “KEY” in the command above with your desired key. For example, if you want to use the “V” key, you would type: bind “v” “toggle voice_enable 0 1”
- Press Enter. Now, pressing “V” will cycle between voice_enable 0 (off) and voice_enable 1 (on) each time you press it.
Recommended Keys: Use a key that is easily accessible but won’t interfere with your movement or shooting. Good options include:
- v, k, f5, f6, f7
- A mouse button like mouse4 or mouse5 (if not used for other functions)
This bind is a essential quality-of-life improvement, much like a CS2 Jump Throw Bind for consistent utility usage.
Advanced Voice and Mute Commands for Granular Control
Beyond the basic voice_enable command, CS2 offers a suite of console commands for precise control over your voice chat experience. Expert players use these to create a perfectly tailored audio environment.
- voice_modenable : This command controls your microphone’s transmission. voice_modenable 1 allows you to speak, while voice_modenable 0 mutes your own microphone output to others. This is useful for quickly muting yourself without changing system settings.
- snd_voipvolume “1.0”: This command adjusts the volume of other players’ voices. The value can range from 0.0 (silent) to 1.0 (full volume). If teammates are too quiet, try setting this to 1.0. If they are too loud, try a value like 0.6 or 0.7.
- cl_mute_enemy_team 1: A crucial command for ranked and competitive play. Setting this to 1 will automatically mute all enemy team players at the start of every match, preventing potential trash talk and distractions.
- cl_mute_all_but_friends_and_party 1: This powerful command, when set to 1, will mute every player in the game who is not on your Steam Friends list or in your current party. This is the ultimate tool for avoiding unwanted communication.
- voice_loopback 1: When enabled, this setting plays your own microphone audio back to you through your headphones. This is useful for confirming your microphone is working and monitoring your own volume levels.
- voice_threshold 2000: This command sets the volume threshold for voice activation mode (as opposed to push-to-talk). A lower value makes your microphone more sensitive. Most players should use push-to-talk for better control. If you need to change your microphone input device entirely, our guide on How to Change Mic in CS2 provides detailed steps.
Troubleshooting Common CS2 Voice Chat Issues
Even with the correct commands, you may encounter issues. Here are expert-recommended solutions to common problems.
- Voice Chat Suddenly Stopped Working: First, check your voice_enable setting by typing voice_enable in the console; it will return its current status. Ensure it is set to 1. Next, verify your CS2 Audio Settings in the game menu. Ensure the correct input and output devices are selected. Windows sometimes changes these defaults unexpectedly.
- “CS2 Mic Not Working?” for Teammates: If teammates can’t hear you, first check you haven’t accidentally set voice_modenable 0. Use voice_loopback 1 to hear yourself and confirm your mic is picking up audio. Ensure you are holding down your push-to-talk key (default: K). For a comprehensive list of fixes, our dedicated article CS2 Mic Not Working? covers driver updates, privacy settings, and more.
- Can’t Mute Specific Players: The voice_enable command is global. To mute a specific player, you must use the in-game scoreboard. Press TAB to open the scoreboard, right-click on the player’s name, and select “Block Communication.” This is permanent for that match.
- Persistent Connection or Verification Errors: While rare, network issues can affect voice services. If you encounter errors like “VAC Was Unable to Verify Your Game Session,” it can sometimes disrupt all online functionalities, including voice. Follow a comprehensive fix guide to resolve underlying integrity issues.
Conclusion: Master Your Communication, Dominate the Game
Mastering the voice_enable command and its related console settings is a non-negotiable skill for any serious CS2 player. It grants you complete control over your auditory environment, allowing you to eliminate distractions, focus under pressure, and communicate effectively with your team. By implementing a toggle bind and understanding advanced mute commands like cl_mute_enemy_team, you optimize not just your gameplay, but your entire mental focus during a match.
Stop struggling with distracting noise and start issuing clear, concise callouts. Implement these commands today and experience the immediate improvement in your matchmaking and Premier CS2 performance. For more advanced config optimizations that pros use, explore guides like s1mple’s CS2 Settings or ZywOo CS2 Settings to see how the best players in the world configure their games.
Frequently Asked Questions (FAQ)
How do I mute all players in CS2 instantly?
You can mute all players instantly by using the console command voice_enable 0. This globally disables all incoming voice chat. For a more permanent solution that automatically mutes the enemy team at the start of every match, you can add cl_mute_enemy_team 1 to your autoexec configuration file.
What is the best key to bind for a voice toggle?
The best key is one that is easily reachable but does not interfere with core gameplay keys like movement (W, A, S, D), shooting (Mouse1), or aiming (Mouse2). Common and effective choices include the V key, K key, or side mouse buttons (mouse4, mouse5). The goal is to allow for instant activation without compromising your mechanics.
Why is my voice chat not working even though voice_enable is set to 1?
If voice_enable is set to 1 and voice chat is still not working, the issue likely lies elsewhere. First, check your in-game audio settings to ensure the correct playback device is selected. Second, verify Windows sound settings to ensure your headphones are set as the default communication device. Third, check your network for any packet loss that could be disrupting VOIP data.
What is the difference between voice_enable and voice_modenable?
The voice_enable command controls what you hear (input from other players). The voice_modenable command controls what you transmit (output from your microphone). voice_enable 0 makes you deaf to others; voice_modenable 0 makes you mute to others.
How can I adjust the volume of my teammates’ voices?
You can adjust teammate voice volume independently of other game sounds using the console command snd_voipvolume. The value range is from 0.0 (silent) to 1.0 (maximum volume). For example, typing snd_voipvolume 0.8 will set voice volume to 80% of its maximum level. This is useful if voice chat is too loud relative to important game sounds like footsteps.