Dust 2 is one of the most iconic maps in CS2, and smokes are essential for controlling key areas. Properly executed smokes allow T-side pushes, mid control, site takes, and retakes, while CTs use smokes to delay pushes, block vision, and secure retakes. This guide covers every essential Dust 2 smoke with tactical context, detailed lineups, and pro tips.
For map understanding and callouts, check our Dust 2 callouts guide.
Table of Contents
- T-Side Smokes
- Mid / Top-Mid
- A Site (Long, Short/Catwalk)
- B Site (Door, Window, Tunnel)
- Mid-to-B Split
- Mid / Top-Mid
- CT-Side Smokes
- Mid Control
- A-Site Defense
- B-Site Defense
- Retake Smokes
- Mid Control
- Common Mistakes & Pro Tips
- Practice Routine
- Tactical Integration & Strategies
1. T-Side Smokes
1.1 Mid / Top-Mid Smokes
Purpose: Deny CT vision, allow safe Short or Mid-to-B pushes.
| Smoke | Position & Lineup | Throw Type | Tactical Use |
| XBOX / Mid-Doors Smoke | Stand in T-spawn corner near barrels, aim at top corner of the wall above mid doors. | Jump-throw | Blocks top-mid AWPs and CTs from seeing short or mid rotations. Essential for Mid-to-B splits. |
| Full Mid Coverage | Stand left of T-Spawn, align with the top-left edge of the window, run forward, jump-throw. | Jump-throw | Completely denies mid control for CTs, ideal for aggressive mid pushes. |
Tips:
- Always coordinate with teammates pushing Short or B.
- Watch for CTs pre-firing; delay smoke slightly if enemies are aggressive.
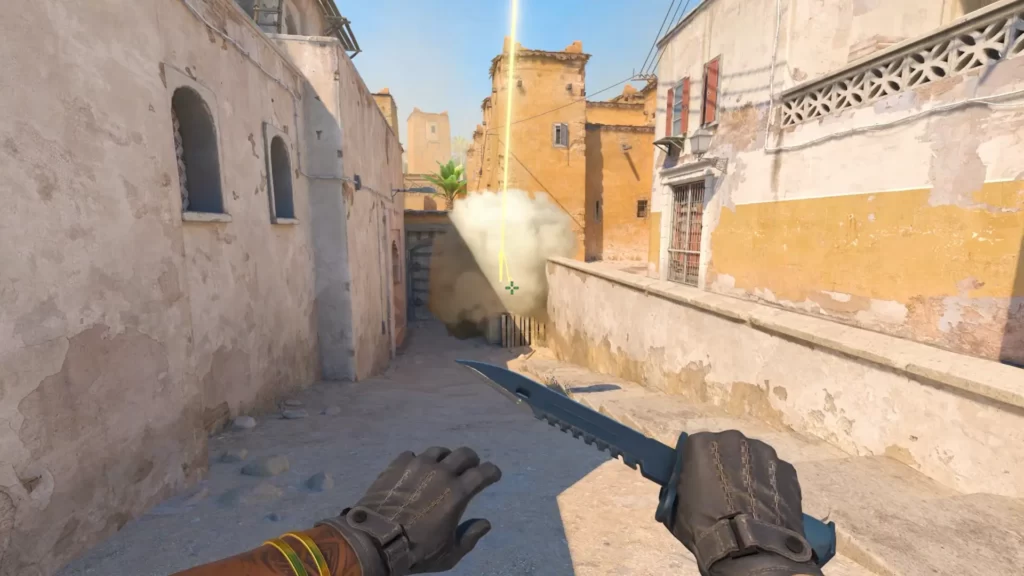
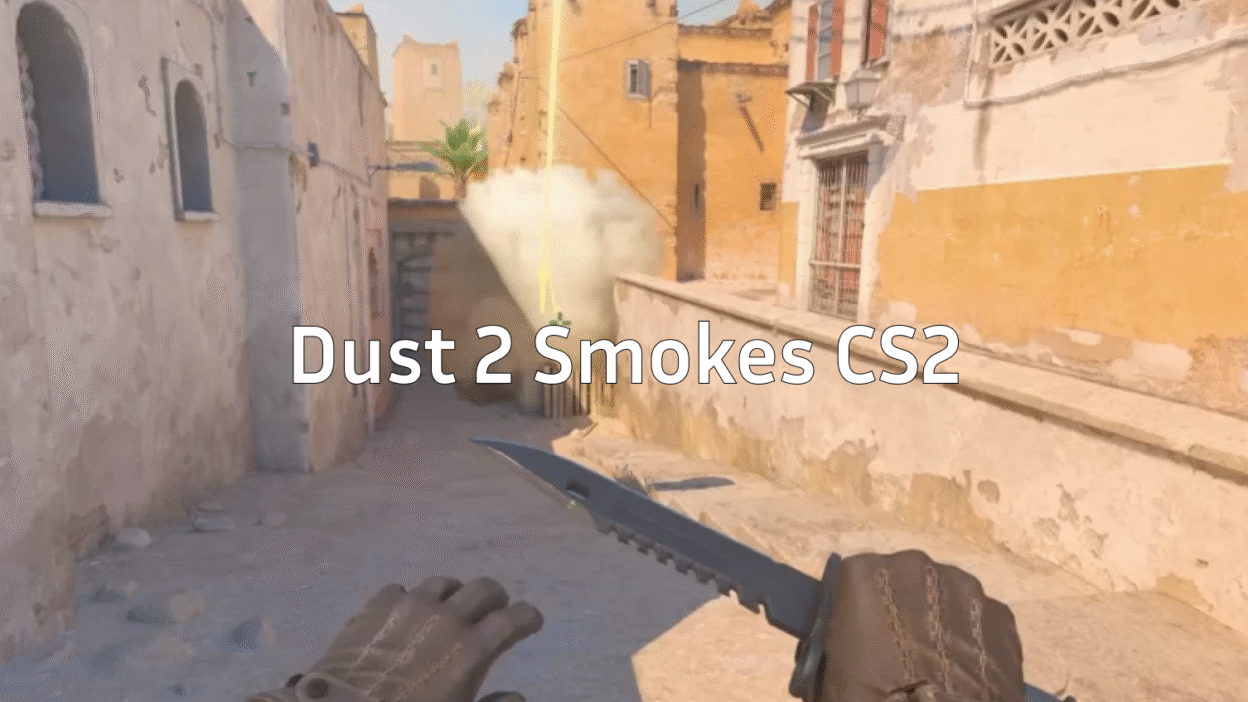
1.2 A Site Smokes
Long / Cross Smoke
- Position: Stand near Long corner (T-side), aim slightly above left of the door frame.
- Throw: Normal throw.
- Use: Lets T cross safely to A, covering CT spawn and Long corner. Supports coordinated executes with Short/Catwalk.
Short / Catwalk Smoke
- Position: Stand near catwalk stairs, aim at far edge of the A-site wall.
- Throw: Jump-throw.
- Use: Blocks Short defenders’ vision and facilitates safe Short pushes. Key when Long is contested.
CT-Spawn Smoke for A Push
- Position: Stand near A ramp, aim at top corner of CT spawn building.
- Throw: Jump-throw.
- Use: Prevents CTs from rotating early or peeking cross while T plants. Ideal for executes and fake plays.
1.3 B Site Smokes
| Smoke | Position & Lineup | Throw Type | Tactical Use |
| B-Door Smoke | Stand at B-tunnels entrance, aim at top edge of the door. | Jump-throw | Blocks CT vision, crucial for safe B-site entry. |
| B-Window Smoke | Stand near tunnel corner, aim at left window top. | Normal throw | Covers common CT peek points; allows plant and site control. |
1.4 Mid-to-B / Split Smokes
- Mid-to-B Smoke:
- Stand near T-mid spawn, aim at CT-spawn corner, run forward and throw.
- Blocks CT rotations and allows Mid-to-B splits safely.
- Stand near T-mid spawn, aim at CT-spawn corner, run forward and throw.
- Tactical Use: Essential for split executes, fakes, and coordinated team pushes.
2. CT-Side Smokes
2.1 Mid Control Smokes
- Purpose: Delay T pushes, block vision, and support rotations.
- Example: Smoke Top-Mid to prevent T-side peeks or fast Mid control.
2.2 A-Site Defense Smokes
- Long Corner Smoke: Blocks T cross from Long, giving CTs time to rotate.
- Catwalk / Short Smoke: Denies T Short control, ideal for delaying site takes.
2.3 B-Site Defense Smokes
- B-Tunnel Smoke: Delays B pushes; can combine with molotovs for maximum delay.
- Window Smoke: Covers common peek angles for CT defenders.
2.4 Retake Smokes
- Smoke CT-Spawn or Mid-Doors during retakes to isolate plant areas and force T rotations.
- Combine with flashbangs for high chance of site recovery.
3. Common Mistakes & Pro Tips
- Timing Issues: Throwing too early or late reduces effectiveness.
- Predictable Usage: Vary order and timing of smokes to avoid spam or pre-fire.
- Improper Lineups: Practice exact positions to ensure full coverage.
- Lack of Coordination: Combine smokes with flashes and molotovs for successful pushes.
- Ignoring Round State: Use smokes differently depending on economy, aggression, or player positions.
4. Practice Routine
- Load Dust 2 in a private server.
- Enable infinite grenades.
- Practice every smoke: position → aim → throw → landing verification.
- Simulate full 5v5 executions with teammates.
- Rotate smoke order and timing for unpredictability.
For guidance on practice commands, see our CS2 smoke practice guide.
5. Tactical Integration & Strategies
- T-side Executions: Combine Mid, Short, and Long smokes for safe site entries.
- Fake Plays: Smoke one site to mislead rotations and push the other site.
- CT-side Holds: Use smokes to slow T-side aggression, block vision, and support rotations.
- Pro Insight: Check out pro settings and gameplay to see how top players integrate smokes, e.g., s1mple CS2 settings or ropz CS2 settings.
Conclusion
Mastering Dust 2 smokes in CS2 transforms your gameplay. Knowing lineups, tactical use, timing, and coordination gives you map control, safer site takes, and higher success in both T and CT strategies. Practice consistently, integrate smokes with team plays, and you’ll dominate Dust 2.For a complete CS2 maps and callouts resource, see our CS2 maps guide.