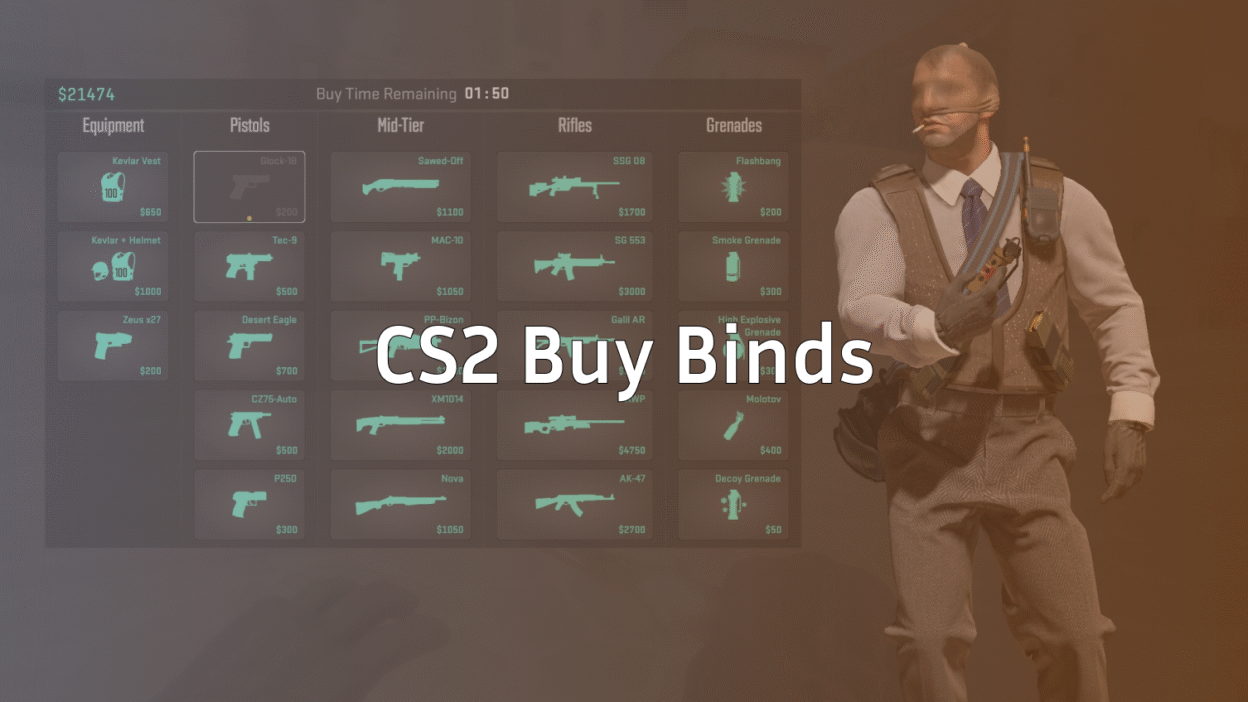
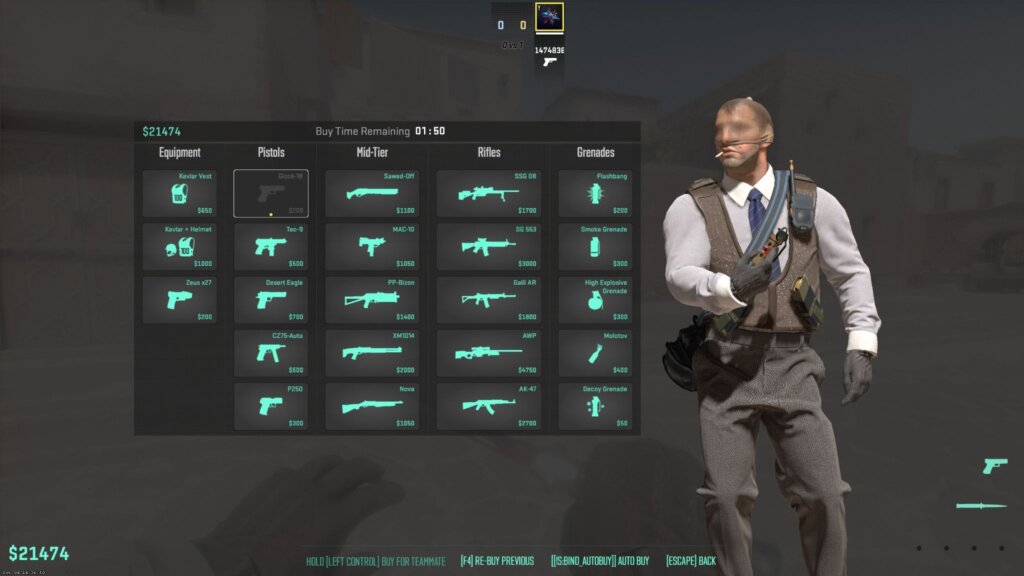
If you’ve ever missed a buy because the timer hit zero, you already know why CS2 buy binds matter. One key press can instantly equip your full loadout—no rushing through the CS2 buy menu, no misclicks, no stress.
In this guide, I’ll show you exactly how buy binds work in CS2, how to set them up manually, how to use a CS2 bind generator, and how to build smart loadouts for pistol, eco, force, and full-buy rounds.
Whether you’re a casual grinder or pushing Premier, this guide will help you buy faster and play cleaner.
What Are Buy Binds in CS2?
Buy binds are keyboard shortcuts that purchase weapons, armor, grenades, or full loadouts instantly when pressed.
Instead of opening the CS2 buy menu and clicking items one by one, buy binds let you:
- Buy faster at round start
- Avoid forgetting armor or utility
- Focus more on positioning and strategy
- Match the speed of high-level players
They were popular in CSGO buy binds, and they’re just as powerful—if not more—in CS2.
Why Pro Players Use Buy Binds
Most experienced players don’t rely on the buy menu alone. Here’s why:
- Saves time during freeze time
- Reduces mental load
- Perfect for fast force buys
- Consistency every round
If you’re already copying pro configs like NiKo’s CS2 settings or s1mple’s CS2 setup, buy binds are the next logical upgrade.
CS2 Buy Bind Basics (Commands Explained)
Every buy bind follows this simple structure:
bind KEY “buy weapon_or_item”
Common Buy Commands
| Item | Command |
| AK-47 | buy ak47 |
| M4A4 | buy m4a1 |
| AWP | buy awp |
| Kevlar + Helmet | buy vesthelm |
| Defuse Kit | buy defuser |
| HE Grenade | buy hegrenade |
| Flashbang | buy flashbang |
| Smoke | buy smokegrenade |
| Molotov | buy molotov |
| Incendiary | buy incgrenade |
How to Create CS2 Buy Binds (Step-by-Step)
Step 1: Enable Developer Console
If you haven’t already:
- Go to Settings → Game
- Enable Developer Console
- Press ~ to open it
If you’re new to binds, you can also check our full CS2 binds guide for basics and best practices.
Step 2: Create Simple Weapon Buy Binds
Example:
bind “F1” “buy ak47; buy vesthelm”
bind “F2” “buy m4a1; buy vesthelm”
bind “F3” “buy awp”
Now pressing F1 instantly buys an AK + armor.
Full Loadout Buy Binds (Recommended)
This is where buy binds really shine.
Full Buy (Rifle + Utility)
bind “F4” “buy ak47; buy vesthelm; buy smokegrenade; buy flashbang; buy flashbang; buy hegrenade”
AWP Loadout
bind “F5” “buy awp; buy vesthelm; buy smokegrenade; buy flashbang”
Force Buy
bind “F6” “buy mac10; buy vest”
Eco / Pistol Upgrade
bind “F7” “buy deagle”
CS2 Buy Bind Generator (Easier Method)
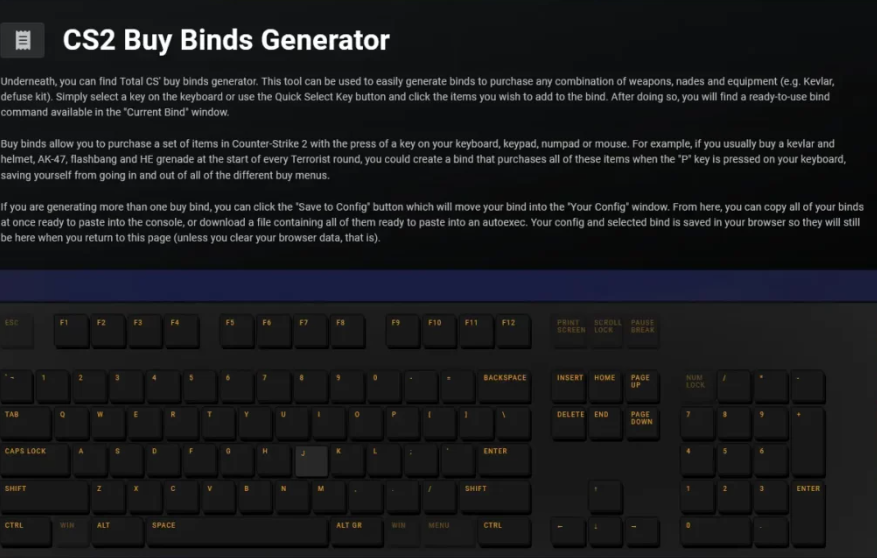
If you don’t want to memorize commands, a CS2 buy bind generator is a great option.
Why Use a CS2 Bind Generator?
- No syntax errors
- Beginner-friendly
- Faster setup
- Easy copy-paste
Most generators let you:
- Select weapons & grenades
- Choose your keys
- Generate ready-to-use binds
After generating, paste the commands into:
- Console, or
- Your autoexec file for permanent use
If you haven’t used one before, check our CS2 autoexec guide to make sure your binds load every time.
Buy Binds vs CS2 Buy Menu (Which Is Better?)
| Feature | Buy Menu | Buy Binds |
| Speed | Medium | Instant |
| Accuracy | Can misclick | Perfect |
| Customization | Limited | Full control |
| Pro-level use | Rare | Very common |
Most serious players use both—the menu for rare buys, binds for standard rounds.
Best Keybind Layout (Pro Tip)
Avoid binding buy commands to movement keys.
Recommended keys:
- F1–F6
- Numpad
- Mouse side buttons
Keep them close but separate from combat actions.
Common CS2 Buy Bind Issues (And Fixes)
Bind Not Working?
- Make sure you’re in buy time
- Weapon might be team-locked
- Double-check spelling (m4a1, not m4a4)
Binds Reset After Restart?
- Save them in your autoexec
- Confirm autoexec is loading correctly
Smart Buy Binds for Different Game Modes
- Premier / Competitive → Full utility binds
- Wingman → Simplified binds
- Deathmatch → Not needed
- Practice servers → Useful with infinite money
If you play custom modes or workshop maps, explore our CS2 custom maps guide for better practice setups.
Should You Still Learn the Economy?
Absolutely. Buy binds don’t replace game sense.
Understanding:
- Save rounds
- Force buys
- Half buys
…is just as important. Our CS2 economy guide breaks this down if you want to improve decision-making.
Advanced Tip: Combine Buy Binds with Roles
Entry fraggers, AWPers, and supports can all use role-specific buy binds.
Example:
- Entry → Rifle + flashes
- Support → Full utility
- AWPer → Smoke + flash
This pairs well with understanding CS2 roles and team play.
Frequently Asked Questions (FAQs)
What are buy binds in CS2?
Buy binds are keyboard shortcuts that let you instantly purchase weapons, armor, or utility without using the CS2 buy menu.
Are CS2 buy binds allowed?
Yes, buy binds are fully allowed in CS2 and are commonly used by pro and competitive players.
How do I create buy binds in CS2?
Open the developer console and use commands like:
bind F1 “buy ak47; buy vesthelm”
Do CS2 buy binds still work like CSGO?
Yes, CS2 buy binds work almost the same as CSGO buy binds, with updated weapon and command names.
What is a CS2 buy bind generator?
A CS2 buy bind generator is a tool that automatically creates ready-to-use bind commands based on your selected weapons and keys.
Final Thoughts
100% yes.
Once you get used to buy binds, going back to the CS2 buy menu alone feels slow and outdated. They’re easy to set up, fully allowed, and used by nearly every serious player.
If you’re already optimizing your:
- Crosshair
- Sensitivity
- FPS
- Launch options
…then CS2 buy binds are a no-brainer upgrade.