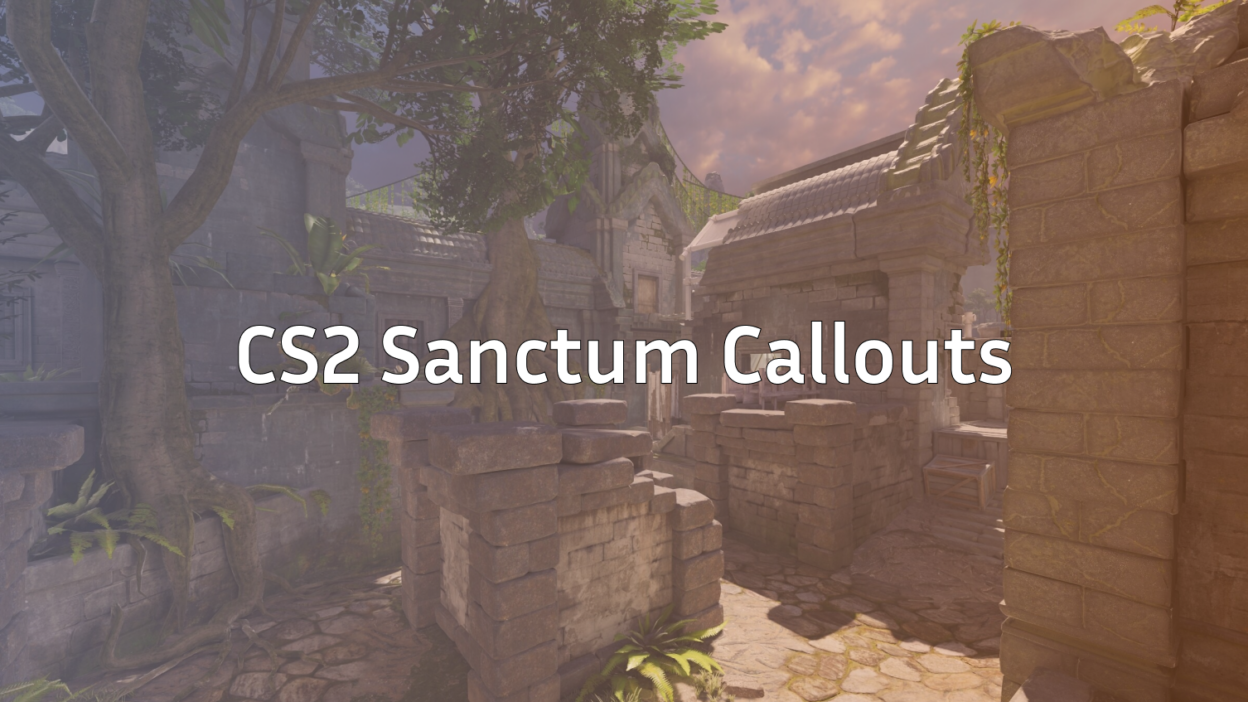
Sanctum is one of the most unique Wingman maps in Counter-Strike 2, and if you’re not using proper callouts, you’re already at a disadvantage.
Because Sanctum is small, vertical, and fast-paced, clear communication matters more here than on most maps. This guide will walk you through every important CS2 Sanctum callout, explain how and when to use them, and help you sound confident even if it’s your first time playing the map.
Whether you’re new to CS2 callouts, learning CS2 map callouts, or just polishing your CS map callouts, this guide has you covered.
Why Sanctum Callouts Matter in CS2 Wingman
Wingman is a 2v2 mode, which means:
- Every death matters
- Every second matters
- Every callout matters
On Sanctum, fights happen quickly and from unexpected angles. A simple “he’s there” won’t cut it. Clean callouts help your teammate:
- React faster
- Pre-aim the right angle
- Use utility more efficiently
If you’ve already learned callouts on maps like Mirage, Inferno, or Nuke you’ll notice Sanctum follows similar naming logic but with tighter spaces.
If you’re new to Wingman, check out this guide on what Wingman is in CS2 to understand how the mode works.
How This CS2 Sanctum Callouts Guide Is Structured
To keep things simple, we’ve split Sanctum into logical zones:
- CT Spawn Side
- Mid & Rotations
- T Side Approaches
- Bombsite & Post-Plant Areas
Each section includes:
- Common callout names
- What players usually mean
- When to use them in real matches
CS2 Sanctum Callouts Full Breakdown
CT Spawn & Defensive Areas
These callouts are critical when defending or retaking the site.
CT Spawn
The main CT starting area. Often used for early info like:
“One pushing from CT Spawn”
CT Stairs
Staircase leading from spawn toward mid. Common hold for defenders watching pushes.
Back Pillar
Large pillar near the back of the site. Great cover during retakes.
Heaven
Elevated position overlooking the bombsite. Very strong post-plant position if CTs retake control.
Temple Wall
The back wall behind site structures. Often used as a hiding spot in clutches.
Mid Control Callouts (Most Important Area)
Mid is where most rounds are decided on Sanctum.
Mid
Central open area connecting both sides. Always call numbers here:
“Two mid, bomb spotted”
Broken Bridge
Damaged walkway in mid. Enemies often crouch or jiggle peek here.
Lower Mid
Drop-down area beneath mid. Dangerous if unchecked.
Connector
Passage linking mid to site. If Ts control this, CT rotations become hard.
If you struggle with mid fights on other maps too, studying Overpass callouts helps a lot since both maps reward mid control.
T Side Approaches & Entry Paths
These callouts help during executes and rushes.
T Spawn
Starting area for attackers. Mostly used early round.
Ramp
Sloped path leading toward mid or site. Common rush route.
Ruins
Crumbled stone structures near site entry. Often used for lurks.
Side Hall
Narrow hallway used for sneaky pushes. Always dangerous in clutches.
Bombsite Callouts (Where Rounds End)
This is where most clutches and post-plants happen.
Default
Most common bomb plant spot. Easy to cover from multiple angles.
Front Pillar
Main pillar inside site. Very common head-level fights here.
Back Site
Deep site area near CT side. Often used by defenders hiding.
Plant Box
Crate near default. Great for off-angles and shoulder peeks.
Headshot Angle
Tight angle where only the head is visible. Extremely dangerous if unchecked.
For better post-plant understanding, this complete CS2 defuse guide is worth reading.
CS2 Sanctum Callouts Table (Quick Reference)
| Area | Callout | When to Use |
| CT Side | CT Spawn | Early info & rotations |
| Mid | Broken Bridge | Jiggle peek fights |
| Mid | Connector | Rotation warnings |
| T Side | Ruins | Lurks & late pushes |
| Site | Default | Bomb planted |
| Site | Back Pillar | Retake or clutch |
Common CS2 Callout Mistakes on Sanctum
Avoid these if you want cleaner comms:
- ❌ Saying “there” instead of naming a spot
- ❌ Over-calling every footstep
- ❌ Using made-up names your teammate doesn’t know
Stick to simple, repeatable CS2 map callouts. Consistency beats creativity.
Pro Tips to Master Sanctum Faster
- Play a few offline practice rounds using CS2 practice commands
- Watch how pros position themselves (settings guides like NiKo’s CS2 settings help you understand their POV)
- Use your minimap effectively, this CS2 radar settings guide can help a lot
- Practice post-plants in private matchmaking
How Sanctum Callouts Compare to Other CS2 Maps
If you already know callouts on popular maps, Sanctum will feel natural:
- Mirage teaches default & connector logic
- Inferno improves tight-space communication
- Nuke helps with vertical awareness
You can sharpen your overall callout game by learning:
Win More Wingman Games on Sanctum
Sanctum may be small, but it rewards smart positioning, fast reactions, and clear communication more than almost any other Wingman map.
If you consistently use the callouts in this guide, you’ll:
- Die less to surprise angles
- Help your teammate clutch more rounds
- Win more Sanctum matches overall
Bookmark this page, share it with your Wingman duo, and keep grinding.
Clear comms win games.