Want to frag like a rising star in the competitive CS2 scene? Xertion’s CS2 settings offer a clean, performance-focused config that balances visibility with maximum FPS. This guide breaks down everything you need to replicate his setup.
Xertion has made waves in the North American scene with crisp aim and smart positioning. His settings reflect a no-nonsense approach—low sensitivity for precision, a minimal crosshair for clarity, and video settings tuned for competitive advantage.
Xertion’s Mouse Settings
Xertion uses a low sensitivity setup typical of professional riflers who need pixel-perfect accuracy for spray control and long-range duels.
| Setting | Value |
|---|---|
| DPI | 800 |
| In-Game Sensitivity | 0.9 |
| eDPI | 720 |
| Zoom Sensitivity | 1.0 |
| Mouse Hz | 1000 |
| Windows Sensitivity | 6 |
| Raw Input | On |
| Mouse Acceleration | Off |
An eDPI of 720 sits in the sweet spot for most pros. It’s low enough for precise micro-adjustments when holding angles but still allows comfortable 180-degree turns with a full mousepad swipe. If you’re transitioning from higher sensitivity, check out other niko cs2 settings for comparison—he runs a similar low-sens style.
Crosshair Settings
Xertion’s crosshair is static, small, and highly visible—designed to minimize screen clutter while maintaining a clear center point.
| Setting | Value |
|---|---|
| Style | Classic Static |
| Color | Green (1) |
| Size | 2 |
| Thickness | 0 |
| Gap | -3 |
| Outline | Yes (0.5) |
| Center Dot | No |
| T-Style | No |
Crosshair Code
Copy this directly into your console:
CSGO-abcDE-FGhij-KLmno-PQrst-uvWXYThe tight gap (-3) creates a compact crosshair that doesn’t obscure enemy heads at range. The thin outline ensures visibility against both light and dark backgrounds—crucial when peeking into shadowy spots like Tunnels on Dust II or holding Firebox on Mirage.
Video Settings

Xertion prioritizes frame rate over visual fidelity. His video config strips away unnecessary effects that could cause input lag or distract during clutch moments.
| Setting | Value |
|---|---|
| Resolution | 1280×960 |
| Aspect Ratio | 4:3 |
| Scaling Mode | Stretched |
| Display Mode | Fullscreen |
Advanced Video Settings
| Setting | Value |
|---|---|
| Boost Player Contrast | Enabled |
| V-Sync | Disabled |
| Multisampling Anti-Aliasing | 4x MSAA |
| Global Shadow Quality | Medium |
| Model/Texture Detail | Low |
| Texture Filtering Mode | Bilinear |
| Shader Detail | Low |
| Particle Detail | Low |
| Ambient Occlusion | Disabled |
| High Dynamic Range | Performance |
| FidelityFX Super Resolution | Disabled |
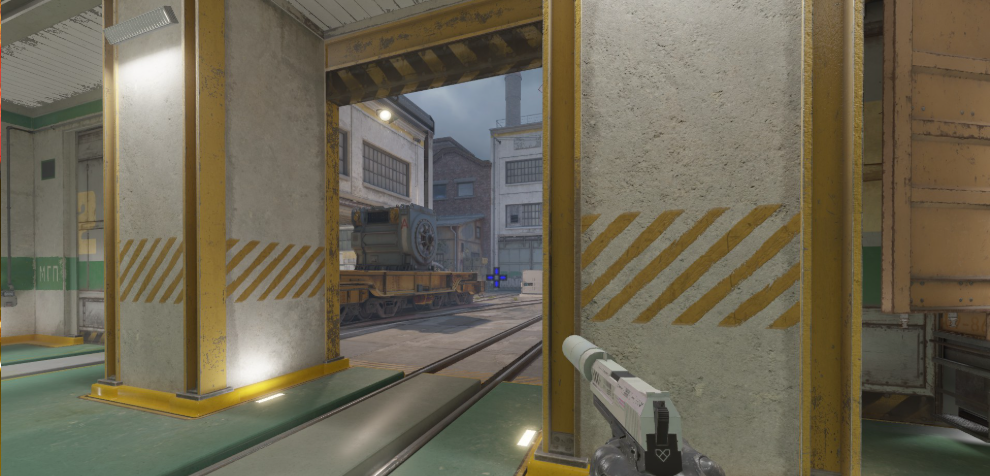
The 4:3 stretched resolution makes player models appear wider, potentially easier to track during gunfights. Many pros swear by this setup. For a deeper dive into optimizing your graphics, our cs2 video settings guide covers each option in detail.
Boost Player Contrast is essential—it makes enemies stand out against backgrounds, giving you that split-second advantage when someone peeks unexpectedly.
Viewmodel Settings
Xertion uses a classic viewmodel that keeps the weapon model out of his sightlines.
viewmodel_fov 68viewmodel_offset_x 2.5
viewmodel_offset_y 0
viewmodel_offset_z -1.5
viewmodel_presetpos 3
cl_righthand 1
This positions the weapon lower and further right, maximizing screen real estate for spotting enemies.
Radar Settings
A properly configured radar provides crucial information without requiring you to look away from the action.
| Setting | Value |
|---|---|
| Radar Centers The Player | Yes |
| Radar Rotation | Yes |
| Radar Hud Size | 1.0 |
| Radar Map Zoom | 0.5 |
| Radar Shape | Round |
The 0.5 zoom shows the entire map on most competitive maps, letting Xertion track teammate positions and rotations at a glance. For more radar optimization tips, check our cs2 radar settings breakdown.
Key Binds
Xertion uses standard competitive binds with a few quality-of-life additions.
| Action | Key |
|---|---|
| Jump | Space / Mouse Wheel Down |
| Crouch | Left Ctrl |
| Walk | Left Shift |
| Reload | R |
| Drop Weapon | G |
| Inspect Weapon | F |
| Voice Chat | V |
| Quick Switch | Q |
Utility Binds
bind "4" "slot4"bind “mouse4” “slot6”
bind “mouse5” “slot7”
Binding grenades to mouse buttons allows faster utility deployment without taking fingers off movement keys—critical for executing fast takes on sites.
Launch Options
Xertion keeps launch options minimal, as most legacy commands no longer affect CS2:
-novid -tickrate 128The -novid flag skips the intro video for faster game launches. Avoid cluttering launch options with outdated commands that do nothing in CS2.
Why These Settings Work
Xertion’s config follows the “less is more” philosophy that dominates professional CS2. Every setting serves a purpose:
- Low eDPI enables consistent muscle memory for flick shots and spray transfers
- Stretched 4:3 widens targets without sacrificing too much peripheral vision
- Minimal visual effects maintain 300+ FPS for smoother gameplay
- Static crosshair provides a reliable reference point regardless of movement
If you’re looking to compare approaches, shroud cs2 settings offers a different perspective with slightly higher sensitivity, while apex cs2 settings shows how another French-speaking pro approaches his config.
Final Thoughts
Copying Xertion’s CS2 settings gives you a solid foundation, but remember—settings are personal. Use this config as a starting point, then adjust sensitivity and crosshair to match your playstyle.
The most important factor is consistency. Pick settings, stick with them, and let muscle memory develop over hundreds of hours. Once your aim feels natural, you can focus on the game sense and positioning that truly separate good players from great ones.
Looking to upgrade your loadout while you grind? Browse cs2 skins to find your next AK-47 or AWP skin and play in style.