
Welcome, fellow gamer! If you’re serious about mastering grenades in CS2 — be it smokes, flashes, molotovs, or HE grenades — you’re in the right place. In this guide, we’ll dive into:
- What the grenade cam (trajectory/preview camera) is, and why it’s a game-changer.
- How to enable it via console commands.
- How to set up a proper practice environment (infinite ammo, bot-kick, etc).
- How to drill line-ups and throw consistency.
- Pro tips for using it in your routine.
We’ll cover your keywords naturally: cs2 grenade camera command, cs2 grenade lineups, cs2 nade practice commands, cs2 grenade trajectory command.
Let’s get you throwing like a pro.
1. Why Use the Grenade Cam & Trajectory?
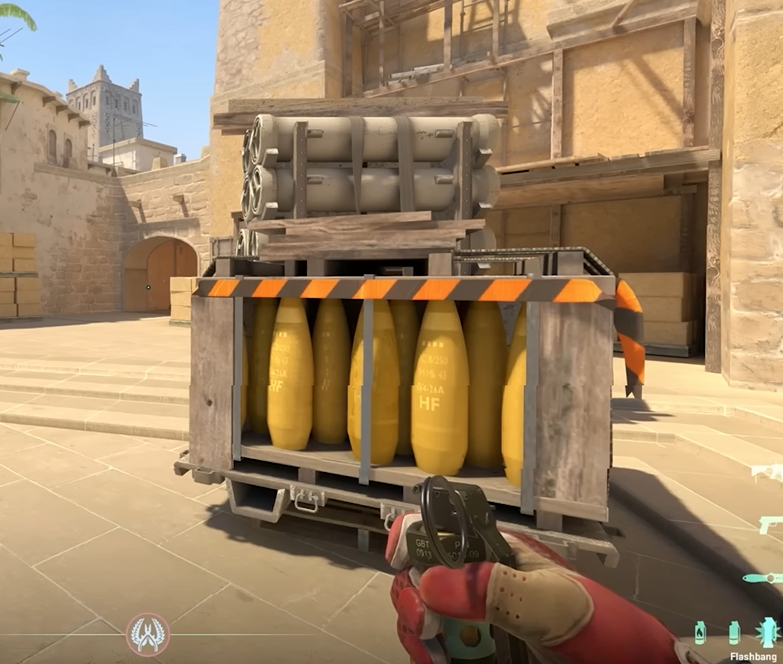
When you throw a grenade in CS2 under pressure, you want consistency. The grenade cam and trajectory tools give you visual feedback so you can see where the grenade will land, how it bounces, and how your throw angle, position, jump or walk affects the result.
Here’s what you gain:
- Precision: Instead of “I hope this lands right”, you can see exactly where it will hit.
- Learning curve reduction: You’ll learn faster by seeing what’s wrong/wrong angle in real time.
- Line-up memorisation: Once you land a throw and can preview it, you’ll remember your setup (position + aim + movement).
- Confidence in competitive matches: After drilling with these tools, you’ll bring that muscle memory into live play.
In short: this isn’t a gimmick; it’s legitimate training to elevate your grenade game.
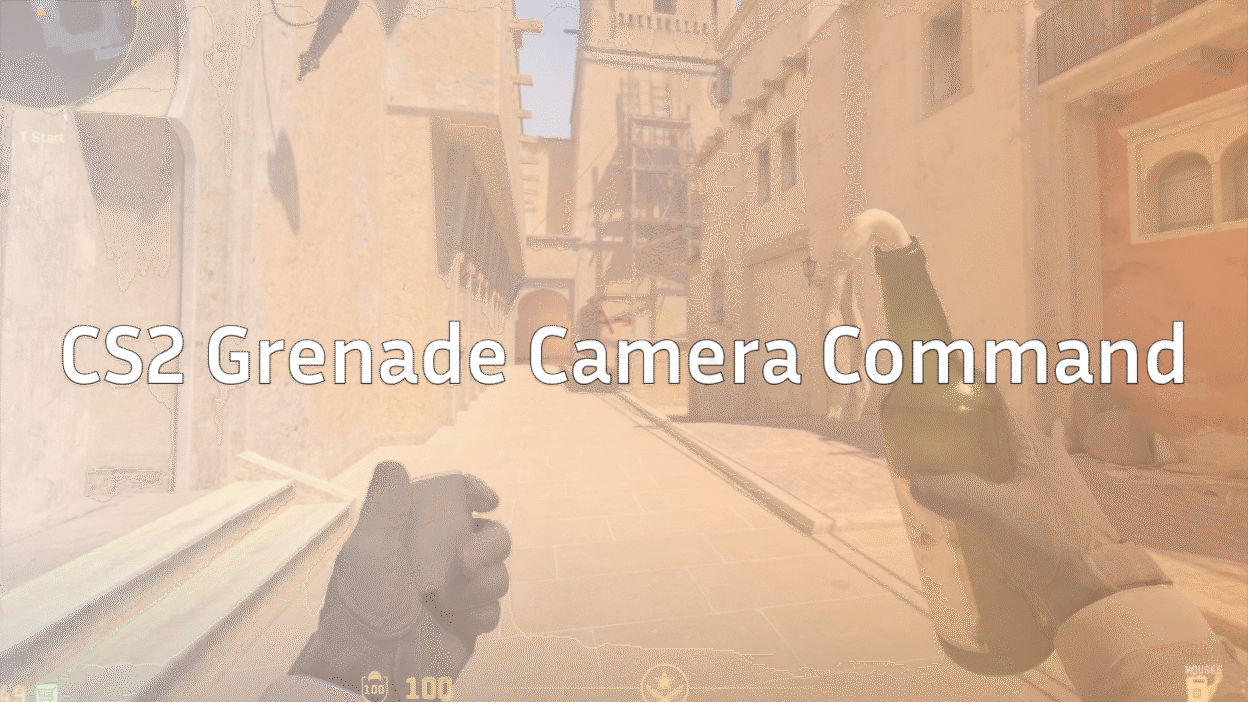
2. How to Enable the Grenade Cam / Trajectory in CS2
Here’s how to get it working step-by-step.
1. Enable the Developer Console
- Open CS2 → Settings → Game.
- Set Enable Developer Console (~) → Yes.
- Press ~ (tilde) in-game to open the console.
2. Start a Practice / Private Match
You cannot rely on these commands in official competitive matchmaking (for obvious fairness reasons). So:
- Go to Play → Practice or create a local server with bots.
- Alternatively: load your favourite map from your “callouts” such as the ones on Dust 2 or Anubis. These will help you pick your map and then run line-ups there.
3. Enter the Grenade Cam / Trajectory Commands
Here are the key console commands:
| Command | Purpose |
| sv_cheats 1 | Enables cheat mode so advanced practice commands work. |
| sv_infinite_ammo 1 | Gives unlimited grenades/ammo during practice. |
| sv_grenade_trajectory_prac_pipreview 1 or true | Enables the grenade camera + trajectory preview (Picture-in-Picture view) in practice. |
| sv_grenade_trajectory_prac_trailtime <seconds> | Optionally extend how long the trajectory line stays visible (for example: 5 or 10). |
So a typical sequence might look like:
sv_cheats 1
sv_infinite_ammo 1
sv_grenade_trajectory_prac_pipreview 1
sv_grenade_trajectory_prac_trailtime 6
Once entered, when you pull the pin on a grenade, you’ll see a mini-window or overlay on your screen showing the grenade’s landing, its path, and bounce behaviour.
4. Extra Useful Commands
- sv_showimpacts 1 → shows markers where grenades landed.
- bind k “sv_rethrow_last_grenade” → rethrow your last thrown grenade quickly (great for line-up testing).
- bind n noclip → fly around the map to inspect landing spots from above.
- ammo_grenade_limit_total <amount> → set how many grenades you can carry.
These commands are widely included in practice config guides.
3. Setting Up Your Nade Practice Environment
You’ll want a consistent environment so your practice is efficient.
1. Basic Setup
- Use a map you’re familiar with (Dust 2, Anubis, etc).
- Kick bots or set bots off: bot_kick all.
- Disable round timer or set a longer round time: mp_roundtime 60 (60 minutes).
- Buy anywhere: mp_buy_anywhere 1.
- Infinite ammo, unlimited grenades: as above.
- Enable trajectory / cam: as above.
2. Use a .cfg file for quick load
Create a text file called nade_practice.cfg in your CS2 config folder and paste your list of commands. Then in-game just type: exec nade_practice to load it. Saves time.
3. Bind keys for efficiency
- Bind a key to toggle noclip.
- Bind a key to “rethrow last grenade”.
- Bind a key to clear smoke/particles if the map gets cluttered (e.g., bind k “ent_fire smokegrenade_projectile kill; …”).
This lets you test many line-ups in a single session without clutter slowing you down.
4. Organise sessions by map & lineup type
Break your practice into chunks:
- 10 minutes of smokes (cover vision).
- 10 minutes of flashes (pop-flashes, team setups).
- 10 minutes of molotovs/incendiaries (anti-plant/retake).
- 10 minutes of HE grenades (damage, exit kills).
Use the camera to inspect each throw: where it lands, how it bounces, how much clearance it has.
4. Using the Grenade Cam & Trajectory to Drill Line-ups
This is where you actually improve — not just set up.
1. What is a Line-up?
A “line-up” is a fixed position, angle, and often movement (run, jump, walk + throw) that guarantees your grenade lands in the desired spot consistently. For example: on Dust 2, position at A-Long corner, aim at X brick, jump-throw smoke to land and block CT. That’s a line-up.
2. How the Cam Helps
With the grenade cam + trajectory:
- You position yourself, aim your crosshair at your target landmark.
- You preview the landing spot before you walk/run into match-mode.
- If it didn’t land properly, you see why: too far, bounced wrong, blocked by something.
- Adjust your aim or movement accordingly.
- Repeat until you can consistently land it.
3. Example Workflow
- Load map (e.g., Mirage) → enable cam.
- Choose smoke spot: A-Long to Pit.
- Walk to the position, aim at your landmark (e.g., the top of the wall or a particular tile).
- Pull the pin and watch the cam: Does the smoke land in Pit or not?
- If yes → great. If no → adjust aim or angle slightly and repeat.
- Bind “rethrow last grenade” → instantly test again without walking back.
- Once confident, note the setup (e.g., “stand at brick X, aim at leaf tip, jump-throw”).
- Move to next line-up.
4. Building a Line-up Library
Over time, build a list (in Notepad, Google Sheet, etc) with:
- Map name
- Position (landmark description)
- Movement (walk / stand / jump‐throw)
- Aim (what pixel/edge you aim at)
- Grenade type
This becomes your personal reference library you can revisit during warm-ups before live matches.
5. Quick Reference Table – Key Commands
| Command | Value | Description |
| sv_cheats | 1 | Enables cheat mode in practice. |
| sv_infinite_ammo | 1 | Unlimited ammo/grenades. |
| sv_grenade_trajectory_prac_pipreview | 1 / true | Enables grenade camera + trajectory preview. |
| sv_grenade_trajectory_prac_trailtime | e.g. 6 | Sets how many seconds the trajectory remains visible. |
| sv_showimpacts | 1 | Shows impact marker of thrown grenades. |
| bind k “sv_rethrow_last_grenade” | – | Re-throws the last grenade for quick testing. |
| bind n noclip | – | Enables noclip for map exploration. |
Keep this table handy as a cheat-sheet.
6. Advanced Tips & Best Practices
- Practice solos and team setups: First learn line-ups solo, then practice with your team calling them out.
- Vary movement: Many throws are walk-throw, run-throw, jump-throw. Use cam to test each variant.
- Simulate pressure: After drilling, turn off cam and try the same throw “blind” to see how much muscle memory you built.
- Use consistent landmarks: Use the same aim-point every time. Consistency = repeatability.
- Review your throws: Record your practice, watch where the grenade goes, compare to your expected path.
- Stay updated on map changes: your map call-outs (like Dust 2, Anubis, etc), keep your line-ups fresh when maps are reworked.
- Warm-up before matches: Spend 5-10 minutes before your competitive session running your key 3–5 line-ups with the cam on, then switch it off and do them again.
7. Common Mistakes & How to Avoid Them
- Not enabling cheats: Without sv_cheats 1, many commands won’t work.
- Using commands in matchmaking: These tools are for practice only; they’ll either not work or get you flagged in live games.
- Too little repetition: Doing a throw once and moving on won’t build consistency. Use cam, tweak, repeat.
- Landmarks changing after map updates: Always check that your aim-points are still valid after updates to maps or smoke mechanics.
- Skipping muscle-memory drill: After using cam, practice without it so you’re not reliant on the visual aid in live matches.
Frequently Asked Questions (FAQ)
1. What is the CS2 grenade cam command?
The grenade cam command lets you preview your grenade’s path and landing spot using a small in-game camera.
Enable it by typing:
sv_cheats 1
sv_grenade_trajectory_prac_pipreview 1
This feature helps you master smokes, molotovs, flashes, and HE lineups on any map.
To learn more about map setups, check out our CS2 Map Callouts Guide.
2. How do I enable the grenade camera in CS2?
- Go to Settings → Game → Enable Developer Console.
- Start a local or private server.
Open the console (~) and enter:
sv_cheats 1
sv_infinite_ammo 1
sv_grenade_trajectory_prac_pipreview 1
You can also combine it with other CS2 Practice Commands for unlimited ammo and bot control.
3. What’s the difference between the grenade camera and grenade trajectory commands?
Both visualize your grenade throws differently:
- sv_grenade_trajectory 1 → shows the line path of your grenade.
- sv_grenade_trajectory_prac_pipreview 1 → shows a camera feed of the landing.
Using both together is perfect for lineup training — see more in our CS2 Smoke Practice Guide.
4. How do I rethrow the last grenade in CS2?
Use this bind:
bind k “sv_rethrow_last_grenade”
It instantly rethrows your last grenade, saving time during lineup practice.
You can find a full tutorial here: CS2 Rethrow Last Grenade Command Guide.
5. How do I practice grenade lineups effectively?
- Load a local server with your practice commands.
- Pick a map like Mirage or Inferno.
- Use grenade cam + rethrow bind to test your throws.
- Note consistent aim points and positions.
For a full improvement roadmap, read our How to Get Better at CS2 Guide.