If you’ve been playing Counter-Strike 2, you’ve probably come across configs, autoexec files, or the command exec autoexec. Using a solid config can give you consistency, better performance, and fine-tuned controls. In this guide, you’ll learn:
- What exec autoexec means in CS2
- How to create and place your autoexec.cfg
- How to run it properly (and save changes with host_writeconfig)
- Examples of commands you can include
- How to troubleshoot when your autoexec doesn’t work
Let’s dive in.
What Is an Autoexec File in CS2?
An autoexec file (typically named autoexec.cfg) is a config script that loads automatically when CS2 launches. Instead of typing commands every time, you can put your preferred settings — binds, performance tweaks, viewmodel, network settings — inside this file. Then you just run exec autoexec (or make the game do it for you) to apply them.
You’ll often see exec autoexec in CS2 configs. That tells the game to execute (run) your autoexec file. When done properly, every time CS2 starts, your settings load automatically.
Unlike a plain server cfg or default config, autoexec is your personal settings stack. You might also hear about CS2 server cfg — those are configs specific to a server’s rules, but your autoexec is local and for your own preferences.
Because CS2 is the new era of CS, many players coming from CS:GO try to drop in their cfg for CS:GO or cs go cfg files. You can often adapt settings, but autoexec for CS2 should be optimized for its engine and timing.
Why Use an Autoexec? What It Brings You
Using an autoexec has several advantages:
- Consistency across systems — You move PCs, and your settings follow you.
- No manual typing — You don’t have to enter binds or tweaks every match.
- Customization — You can mix viewmodel, binds, network settings, and more.
- Performance & stability — You can include commands that help maintain FPS or network smoothness.
Many CS2 players like to import csgo autoexec fps download configs just to test, but they often need adjustment because CS2 has different performance parameters. So combining what you like from a CS:GO config with new CS2-friendly tweaks is ideal.
Also, having your autoexec in the correct autoexec folder and pointing CS2 to load it ensures fewer errors.
How to Create a CS2 Autoexec File
Here’s a step-by-step:
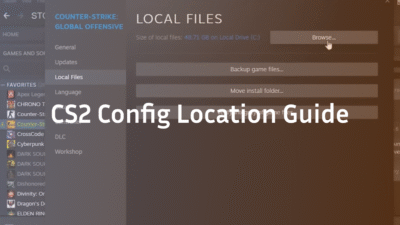
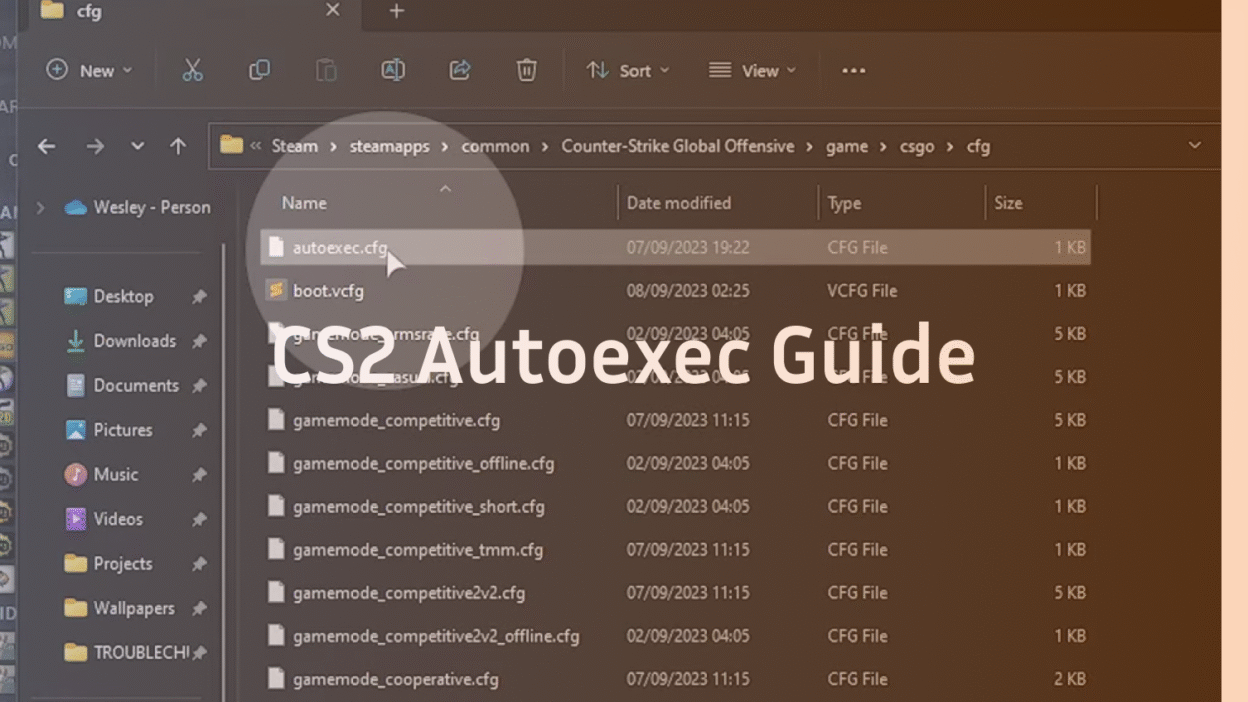
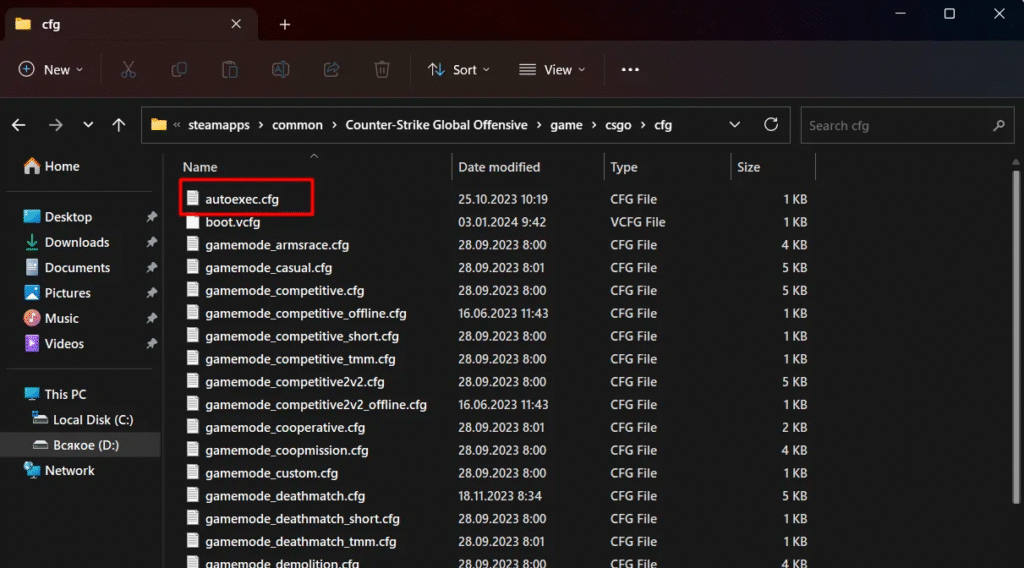
Go to your CS2 config folder
The usual path is something like:
…\Steam\steamapps\common\Counter-Strike 2\game\cfg
- This is where your autoexec.cfg should live (the cs2 autoexec location).
- Create a new file named autoexec.cfg
Use a plain text editor (Notepad, Notepad++, VS Code). Save with .cfg extension, not .txt.
Add your preferred commands
For example:
bind “q” “use weapon_knife”
cl_crosshairsize 2
rate 786432
- (We’ll see more in the “Examples” section.)
- Ensure the file is accessible
Double-check permissions, and that CS2 can read it.
Note: A server cfg is different — that’s a cfg file used by servers for rules, maps, etc. Your autoexec is personal.
How to Run and Load Your Autoexec in CS2
To make sure the autoexec actually takes effect:
Use exec autoexec in console
Open the developer console and type:
exec autoexec
- That runs your config file on demand.
Auto-run it on game start
In Steam, add to CS2’s launch options:
+exec autoexec.cfg
- That ensures it loads every time CS2 is launched.
Use host_writeconfig to save changes
If you adjust something in-game (e.g. change a bind), you can run:
host_writeconfig
or
host_writeconfig cs2
- to save that change to your config file. This is especially helpful when you change commands during a session and want them persistent.
Essential Commands for Your CS2 Autoexec (Examples)
Here are categories and sample commands you can include. Use them wisely — not all at once:
Crosshair & Viewmodel Tweaks
- cl_crosshairsize 2
- cl_crosshaircolor 5
- viewmodel_fov 68
Binds & Grenade Scripts
- bind “q” “drop”
- Jump-predict / jump-throw scripts
- Grenade binds (smoke, flash)
These kinds of binds are also discussed in the CS2 Binds Guide: Best Keybinds, Scripts & Autoexec article on the blog.
Network & Performance Settings
- rate 786432
- cl_cmdrate 128
- cl_interp_ratio 1
Radar, HUD & UI Settings
- Radar scaling commands
- HUD positions
Other Useful Settings
- mat_queue_mode 2 (multithreaded)
- fps_max 300 (cap FPS)
If you want to see how some pros combine all these, check for Magixx CS2 config article on blog.cs2.ad — they place all settings into autoexec.cfg and show how to set +exec autoexec in launch options.
CS2 Autoexec Example & Download Setup
Here’s a simple example to get you started (you can expand):
cl_crosshairsize 2
cl_crosshaircolor 5
viewmodel_fov 68
bind “q” “drop”
rate 786432
cl_cmdrate 128
cl_interp_ratio 1
fps_max 300
mat_queue_mode 2
You can copy that into your autoexec.cfg, place it in the correct folder, and run exec autoexec or use launch option +exec autoexec.cfg.
Many players also look for cs2 autoexec example files or even csgo autoexec fps download packs to test. Just make sure to adapt them to CS2’s architecture.
If you want to check how viewmodel plus autoexec are applied in other contexts, see How to Change Viewmodel in CS2 on blog.cs2.ad (they talk about adding exec autoexec.cfg in launch options).
Editing & Updating Your Autoexec Later
After you create your autoexec:
- You can open autoexec.cfg anytime with a text editor.
- If you change something manually in-game, use host_writeconfig cs2 to write it back.
- Watch out: default configs or updates sometimes overwrite settings, so include exec autoexec in your launch options to reapply.
Many CS2 articles talk about crosshair or config imports — the Stewie2K CS2 Settings article shows how you can paste viewmodel and crosshair commands into autoexec.cfg for consistency.
Troubleshooting Common Autoexec Problems
If your autoexec doesn’t seem to load:
- You might have saved it in the wrong folder (not the CS2 cfg folder).
- The launch option +exec autoexec.cfg might be missing or mis-typed.
- The file name might be wrong (e.g. .cfg.txt instead of .cfg).
- The game update or default config is overwriting it — ensure autoexec is called after defaults.
- Permissions or read/write errors.
When stuck, run exec autoexec in console manually to see errors. Also, use host_writeconfig cs2 to save working configs after testing.
Final Thoughts on Using Autoexec in CS2
A good autoexec gives you consistency, speed, and customization. Whether you bring in parts from cfg for CS:GO or create your own from scratch, make sure your settings are suited for CS2’s engine.
Use internal guides to build better configs over time — for example, the CS2 Practice Commands article shows how a config file can always load your preferred settings in training and match modes.
Don’t overcomplicate it at first. Start small, test often, adjust gradually.
FAQ: Autoexec & Configs in CS2
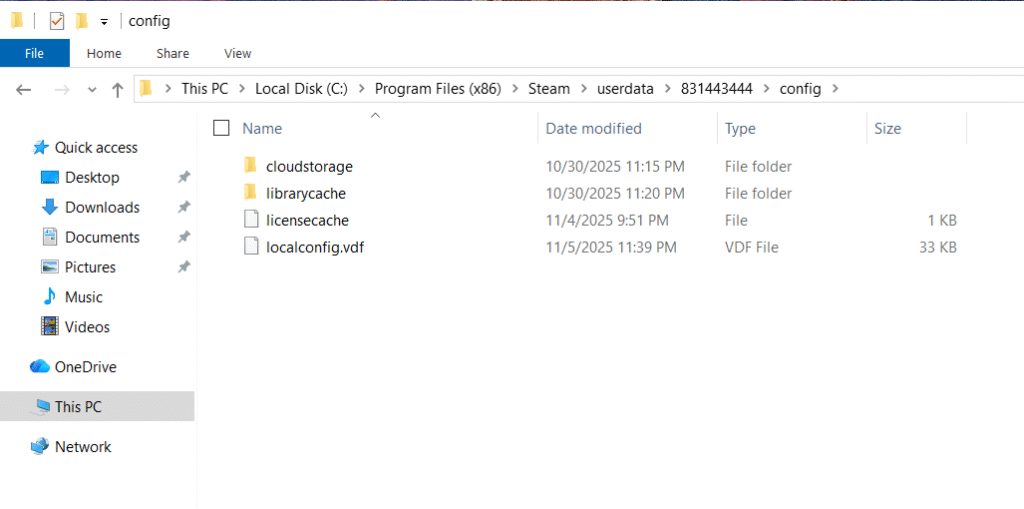
Q1) Where is the CS2 autoexec location?
A) In your CS2 cfg folder, usually under your Steam installation → …\Counter-Strike 2\game\cfg.
Q2) What is the difference between autoexec and server cfg?
A) Autoexec is your personal configuration file. A CS2 server cfg controls server behavior, rules, maps, etc. They serve different purposes.
Q3) How do I run exec autoexec manually?
A) Open the console (~) and type exec autoexec.
Q4) Can I import a CS:GO cfg into CS2?
A) You can try, but you’ll likely need to tweak many commands. CS2 has different performance parameters and command priorities.Q5) Is it safe to download a csgo autoexec fps download from somewhere?
A) It might get you decent settings, but you should check and adapt it. Some commands may be outdated or inappropriate for CS2.